It’s been more than 6 months now since I ditched the salon and started doing my own dip powder nails from home. It’s been a total time and money saver for me. Plus I love the flexibility of doing my nails whenever I want from the comfort of my home! If you are new to doing your own dip powder nails, I recommend starting with my blog post sharing step by step directions linked HERE. This has been my most viewed blog post month after month since I wrote it, which shows me that you’re loving DIY dip powder nails just as much as I am! I wanted this post to be an extension of that one where I go into more detail. I am sharing below DIY dip powder tips I’ve learned and extras I’ve bought along the way to perfect my mani!
This post contains affiliate links. Read more about what that means here.
Tips & Extras
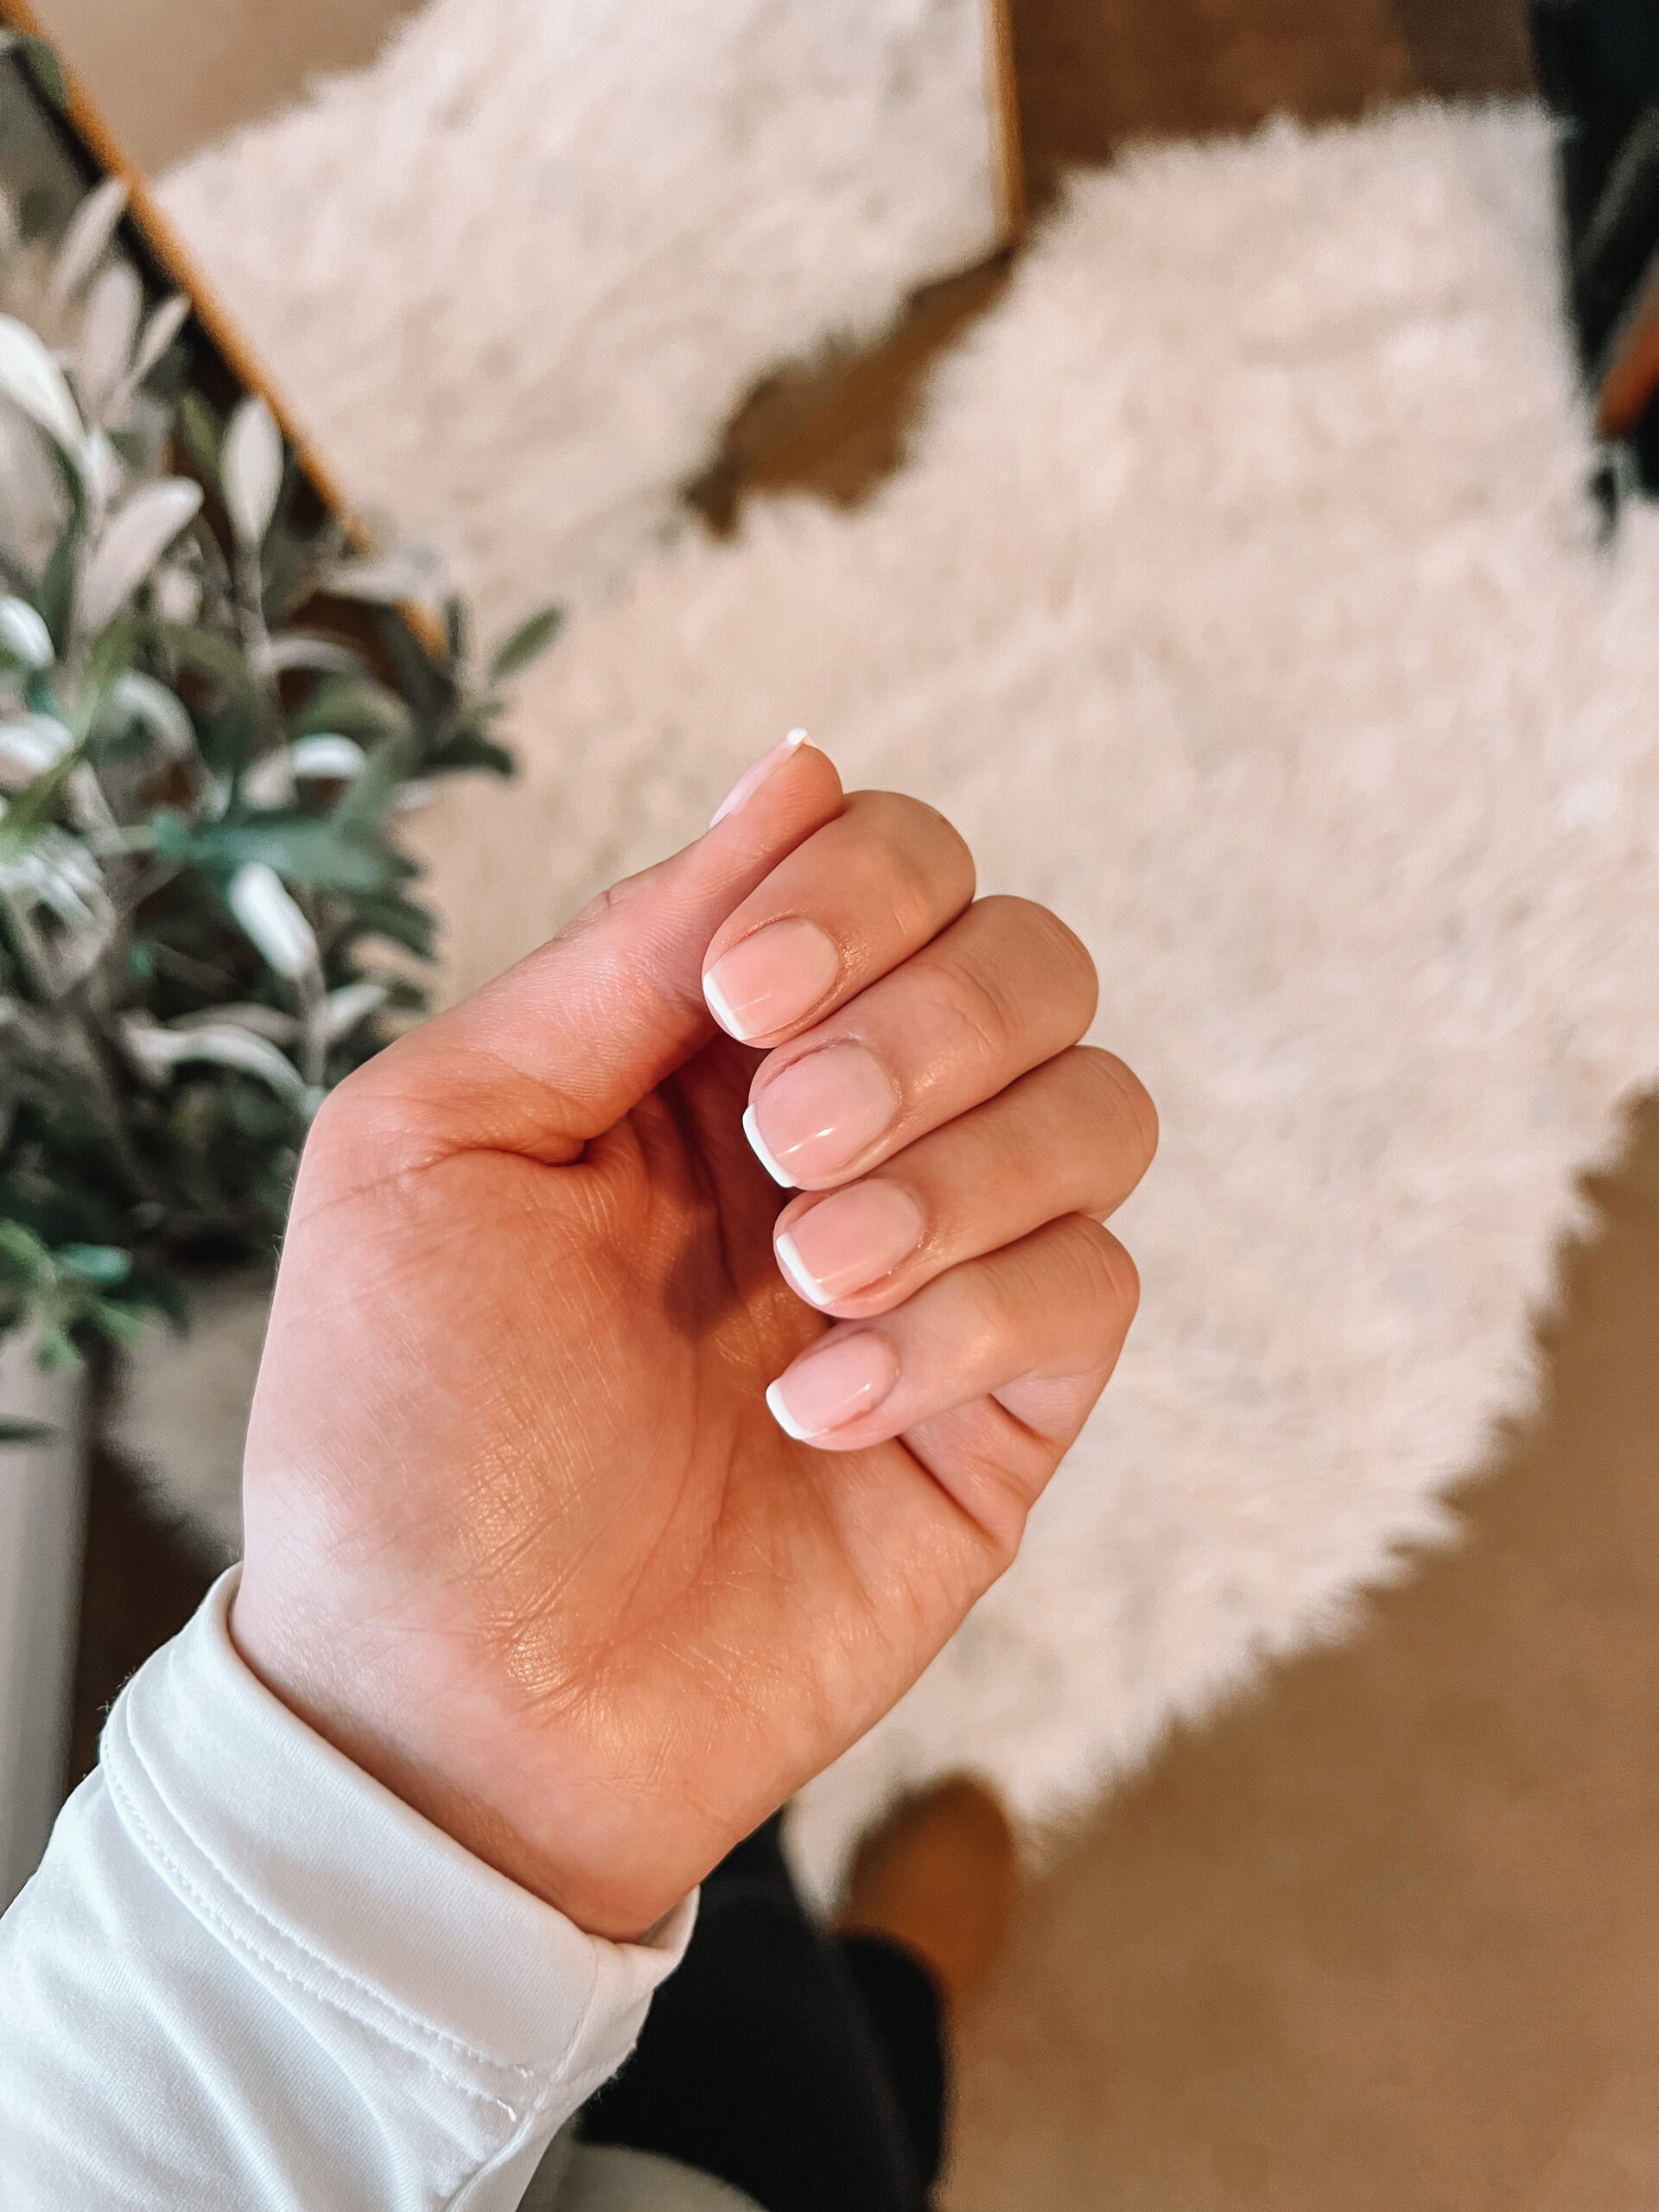
How to make the edges clean: My #1 goal when doing my own dip powder nails has been to make the edges as clean as possible. My first tip is not to apply the base coat too close to the cuticle. If you go too close to the cuticle or the sides, immediately use a tooth pick to clean it up before dipping into the powder. Investing in a nail drill has helped me tremendously with making my nails looks salon quality! I highly recommend this one from Amazon linked HERE. It’s under $20 and currently 20% off. I use the safety bit (round with pointy edge) to go around the edges of my nails. I also keep it on the slowest setting at all times.
How to prevent lifting: When I first started doing my own nails, I only invested in the base coat, activator, and top coat. My nails still looked great! But one thing I’ve started using now and noticed a big difference from is Rossi’s primer – linked in this set of liquids HERE. Using a primer will remove any oils from your nail, which are typically what causes lifting. I’ve noticed that my nails last even longer when using the primer and buffing my nails before applying dip powder.

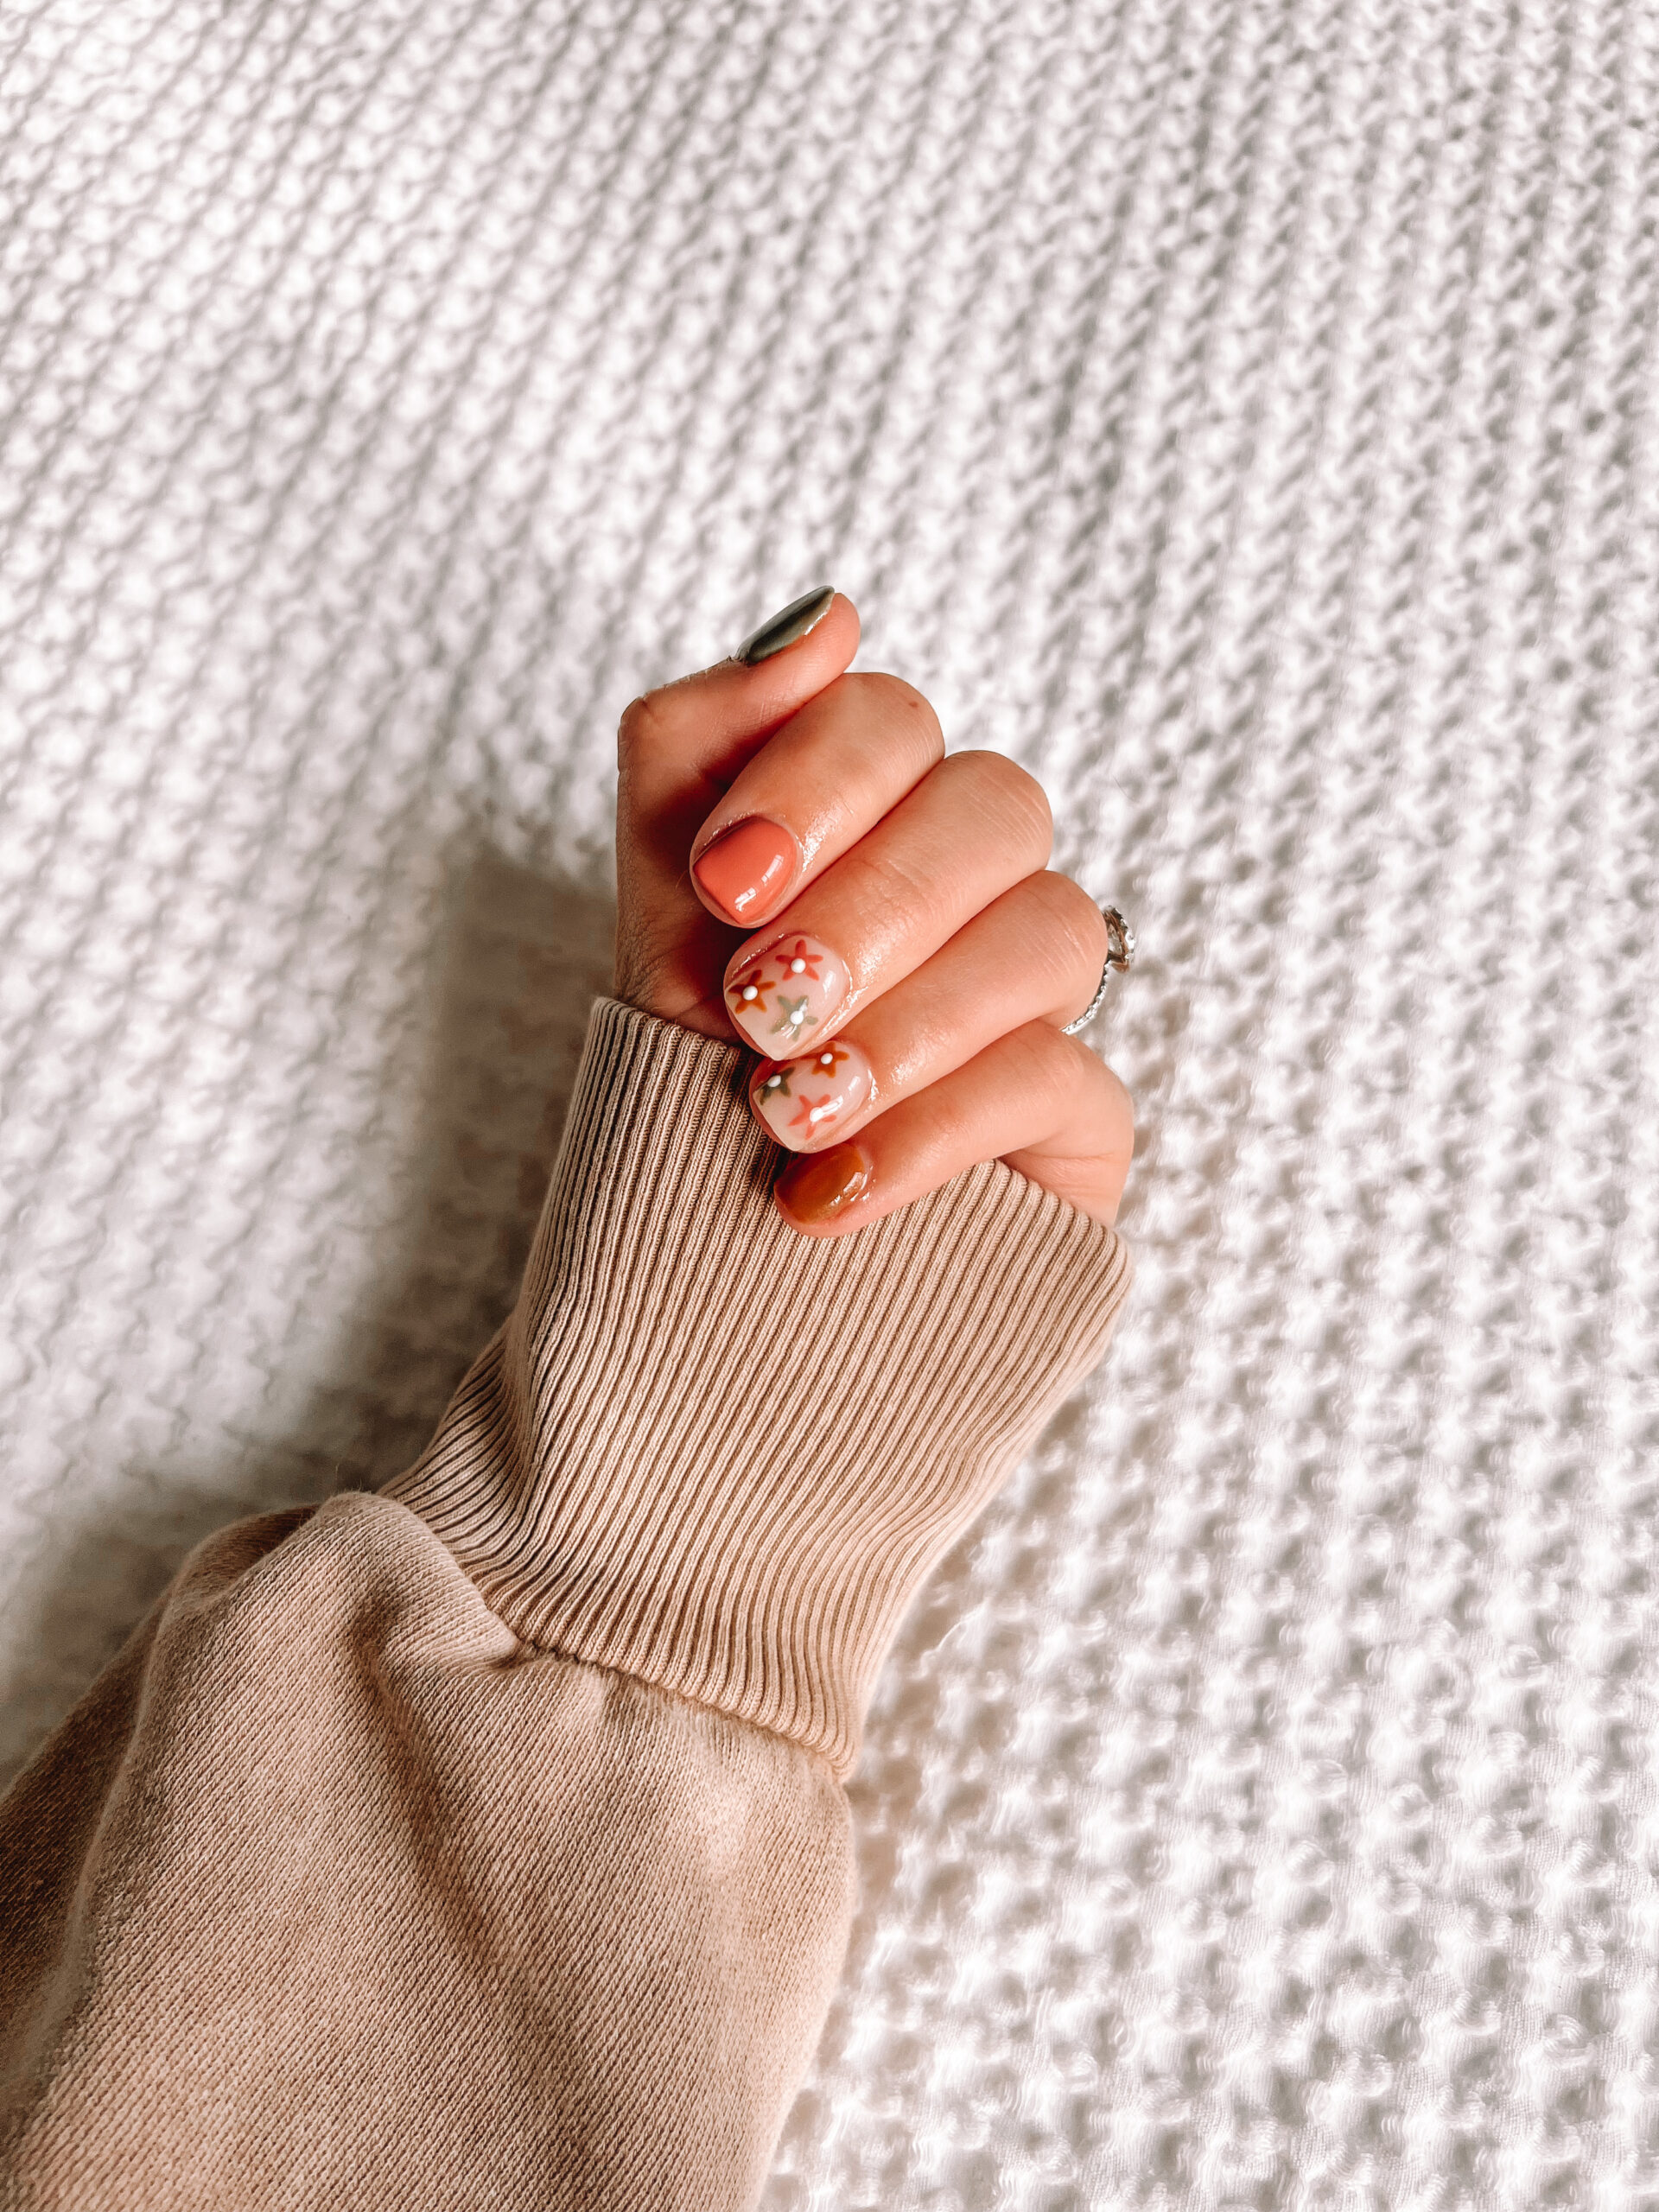
How to prevent white specs when filing: Sometimes if you file too hard, white specs can appear on your color, especially with darker shades. You can prevent this by encapsulating your nails in a final layer of clear dip powder. Then you can file as much as you want without filing into your color. The clear is also great for using over top of glitter! You can get Rossi’s clear dip powder HERE.
How to grow your natural nails: I have been asked this question a few times when sharing pictures of my nails. You can certainly apply false nail tips to your nails before doing the dip powder process. However, my personal preference is dipping straight onto my natural nails. My nails were not always this long though. I noticed a tremendous difference in the length and strength of my nails when I started taking collagen every morning! I use the collagen linked HERE in my coffee every morning.
How to remove dip powder: There are a few different ways to remove dip powder. I’m linking a video tutorial HERE that fully explains the method I use. Make sure you are using 100% acetone and not just regular nail polish remover. The acetone that I use is linked HERE.
Storage & Organization

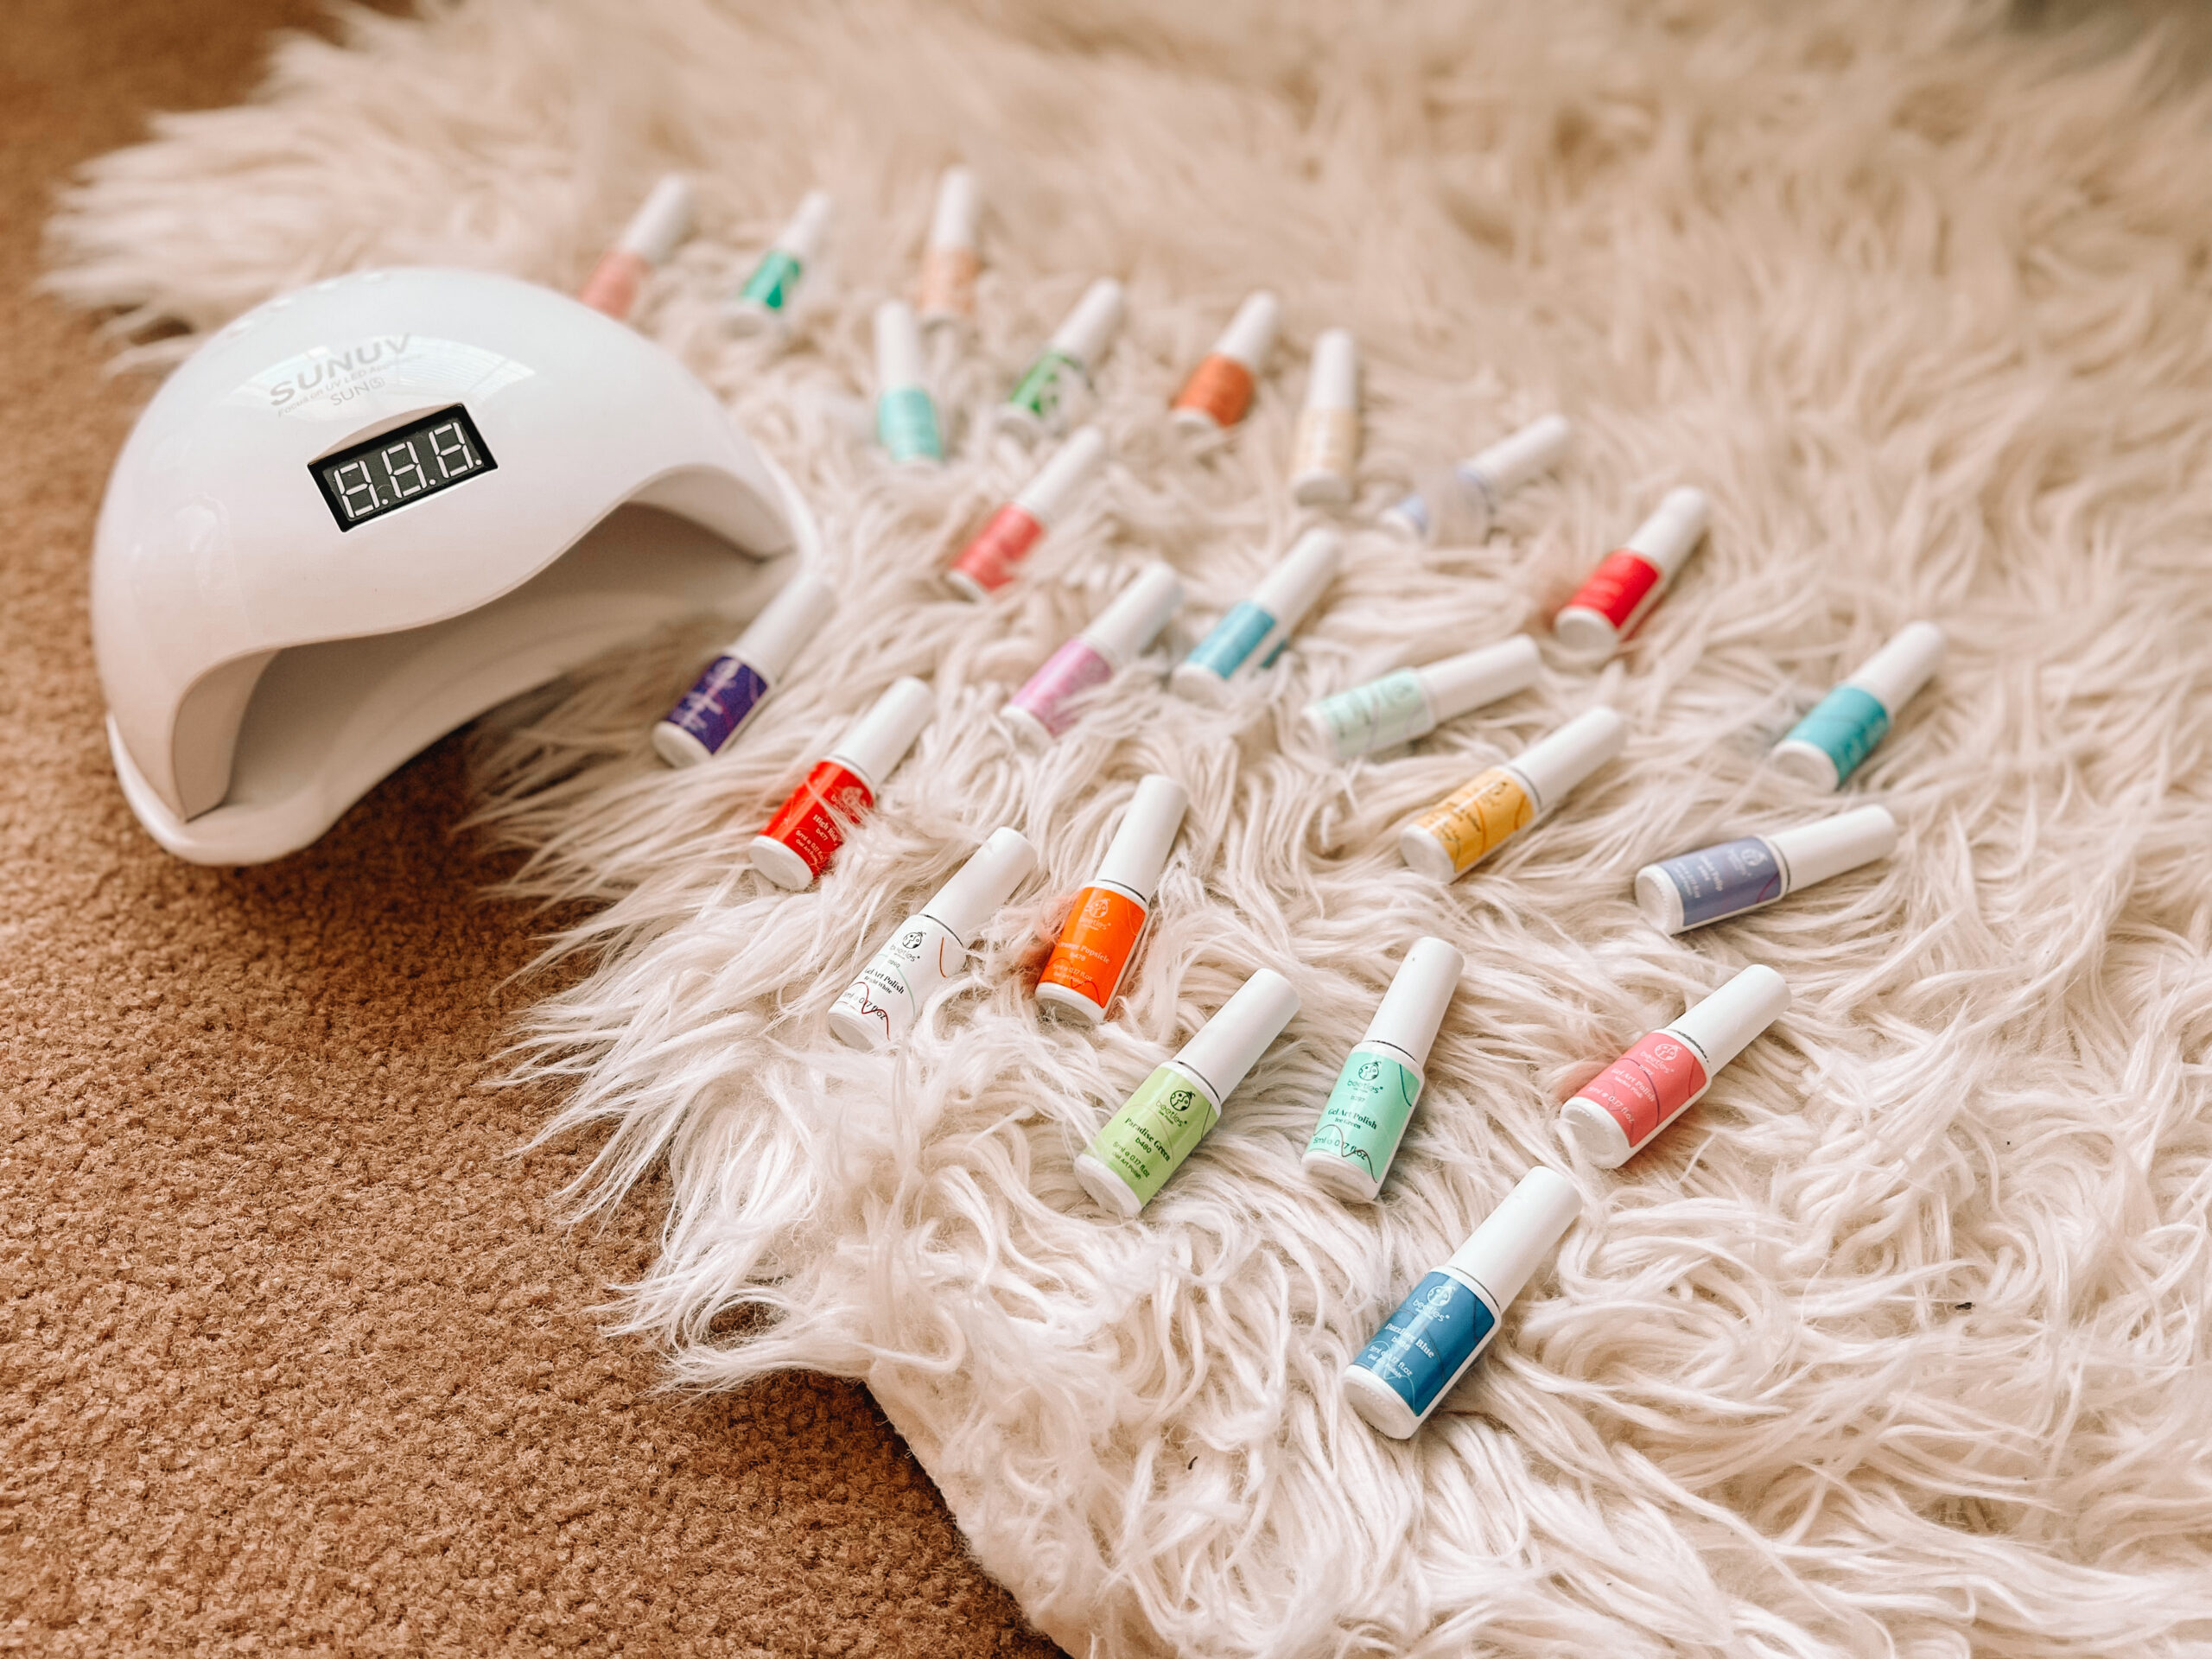
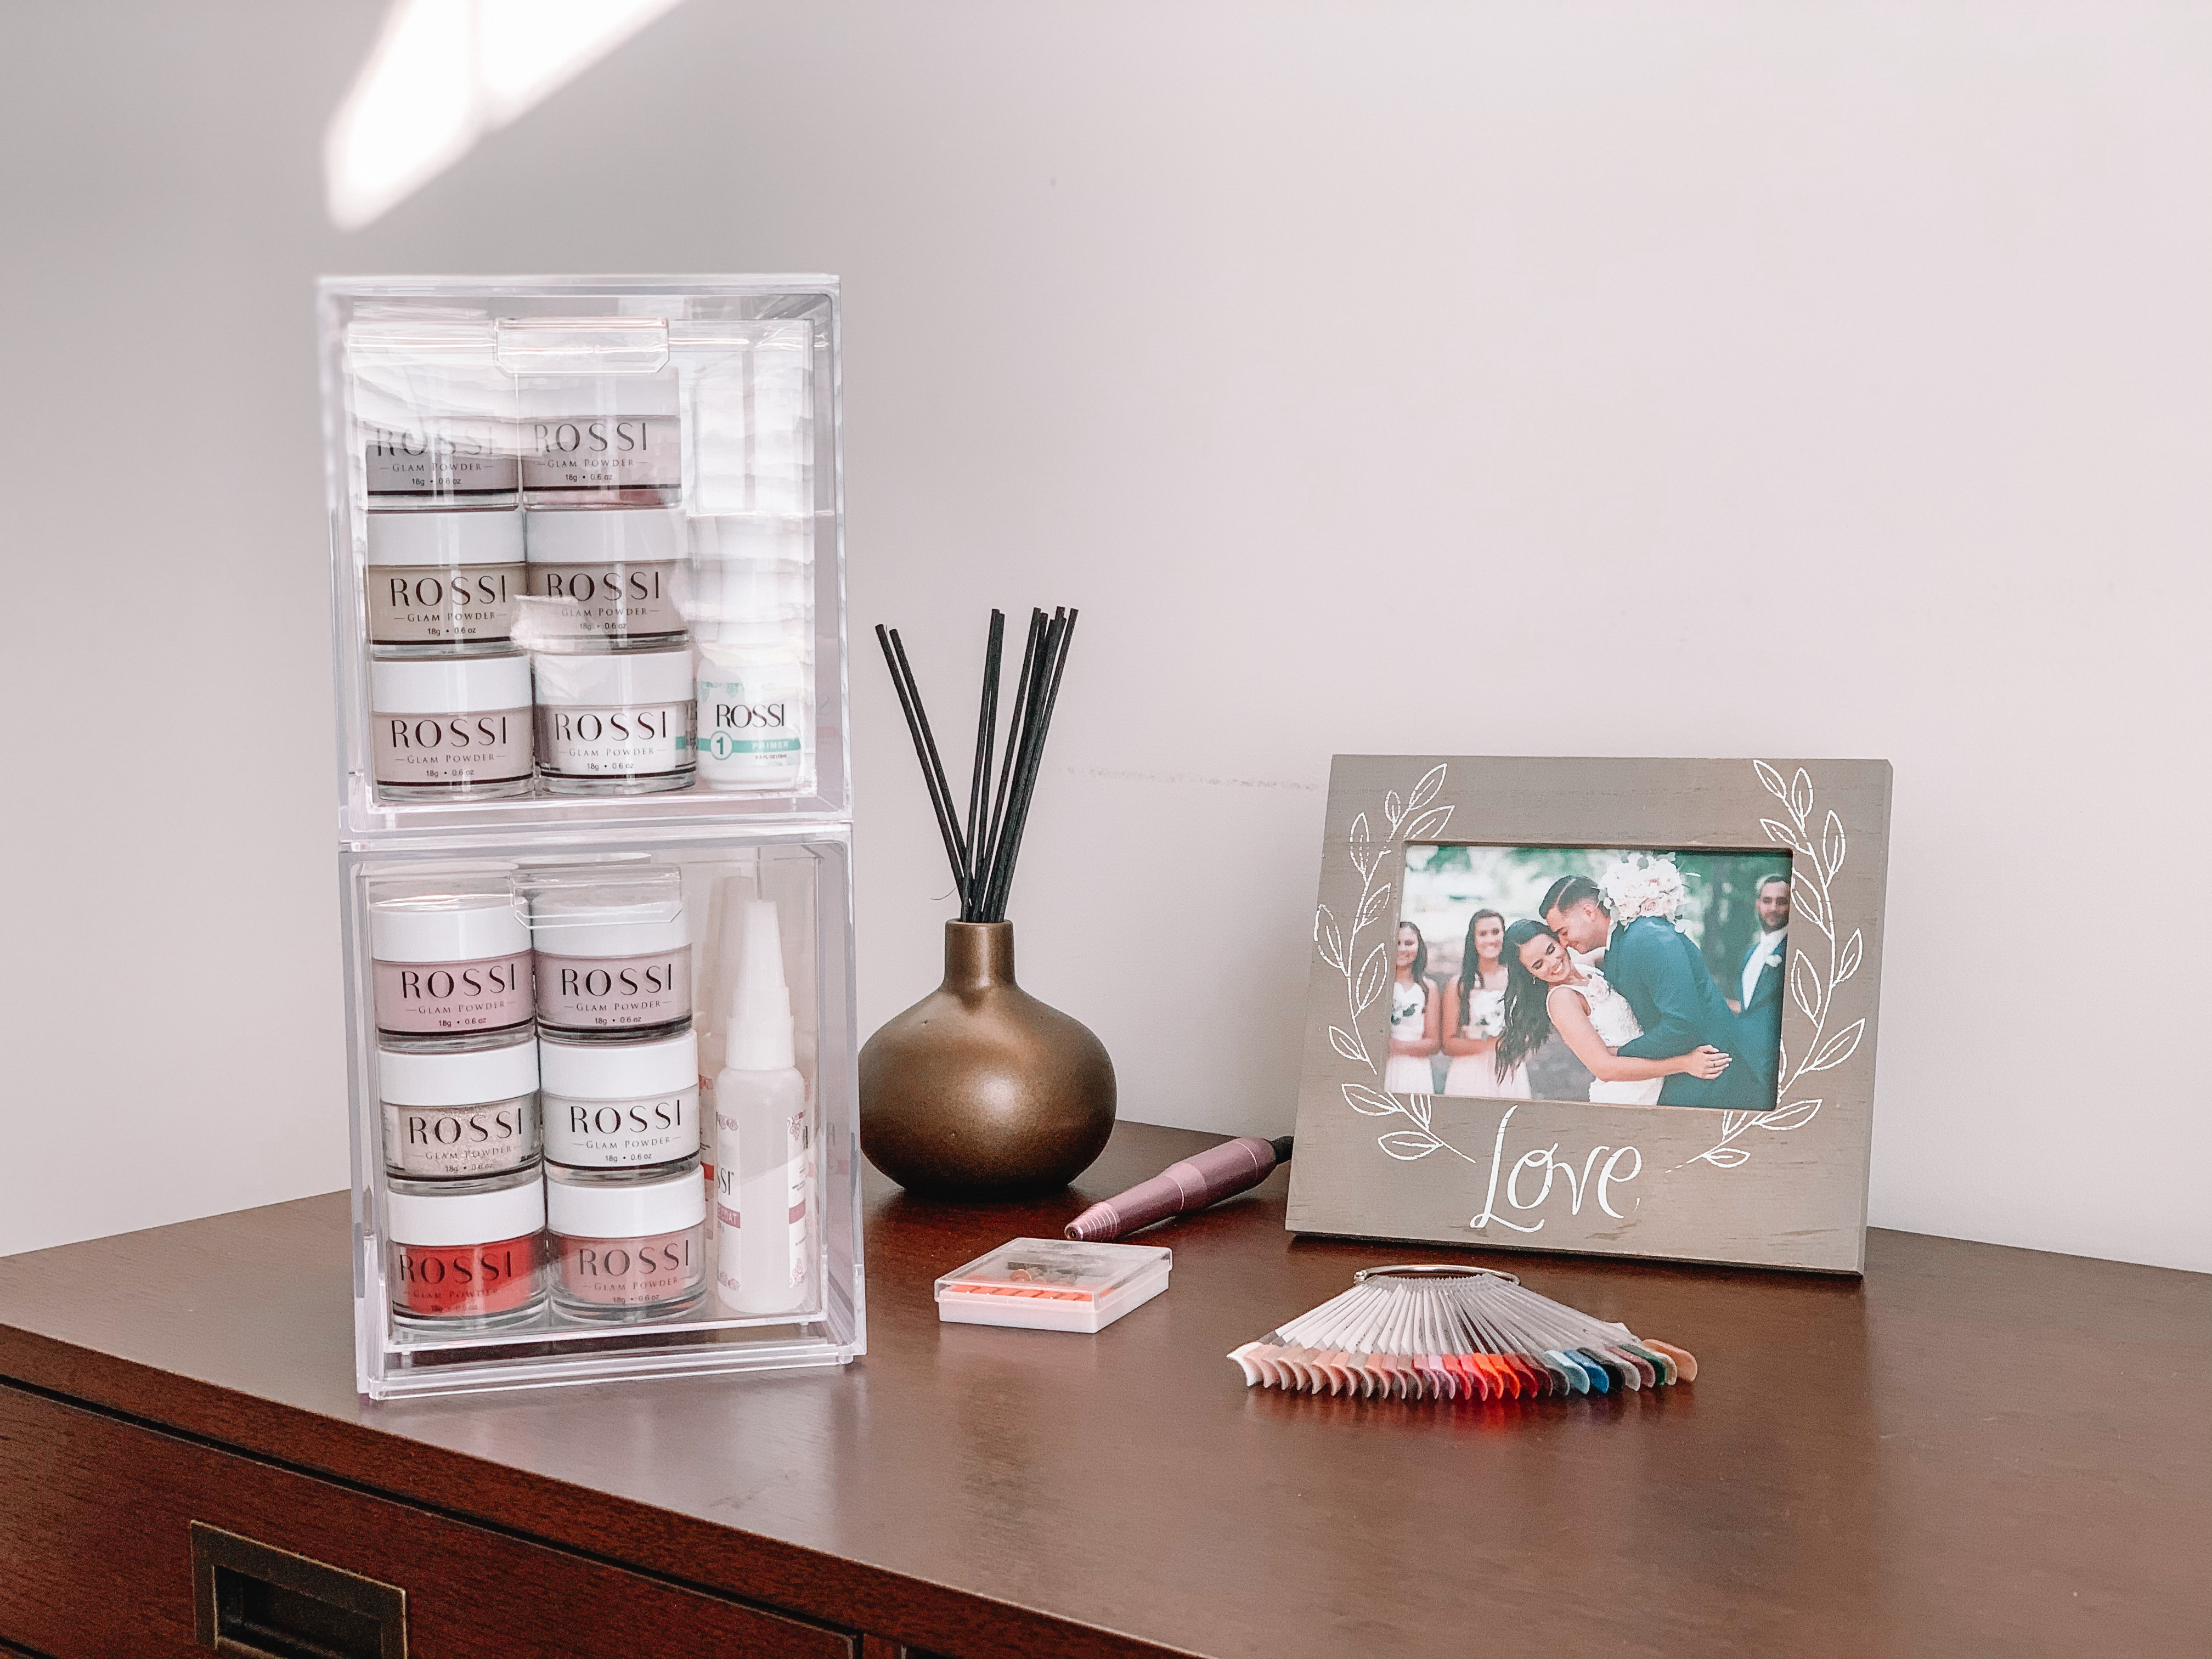
Storage Bins: Once you start building up a large collection of dip powders, you definitely need some place to store them! I did some hunting and found these storage bins from Amazon linked HERE. What I like about them is that they are stackable. They are big enough to fit 2 rows of 3 Rossi jars tall by 3 Rossi jars deep. The space leftover on the sides is just big enough to fit the Rossi liquids.
Nail Display: I also love having the nail display pictured above to easily see all of my colors. It’s only $4 from Amazon and comes with 50 pieces and a ring for holding them all – linked HERE. I bought the labels from Rossi – linked HERE. But you could also make them yourself if you have a label maker.
I hope all of you DIY nail artists found these dip powder tips helpful! Practice makes perfect for me when doing my own dip powder nails. It gets easier every time! As a reminder, you can shop Rossi’s Amazon storefront HERE or you can shop directly on their site HERE and use my code ROBIN10 to save 10%!