Under normal circumstances, I would have already made my monthly visit to my favorite nail salon. They introduced me to dip powder nails for my wedding and I haven’t looked back since. For me, dip nails last longer than any other type of nail. I also like that there’s no UV radiation, glue, or anything else that could be harmful to your natural nails. My heart goes out to anyone in the beauty industry that has had to temporarily close their doors. BUT I’ve found the best way to still have a fresh manicure during social distancing – DIY dip powder nails.
This post contains commissionable links.

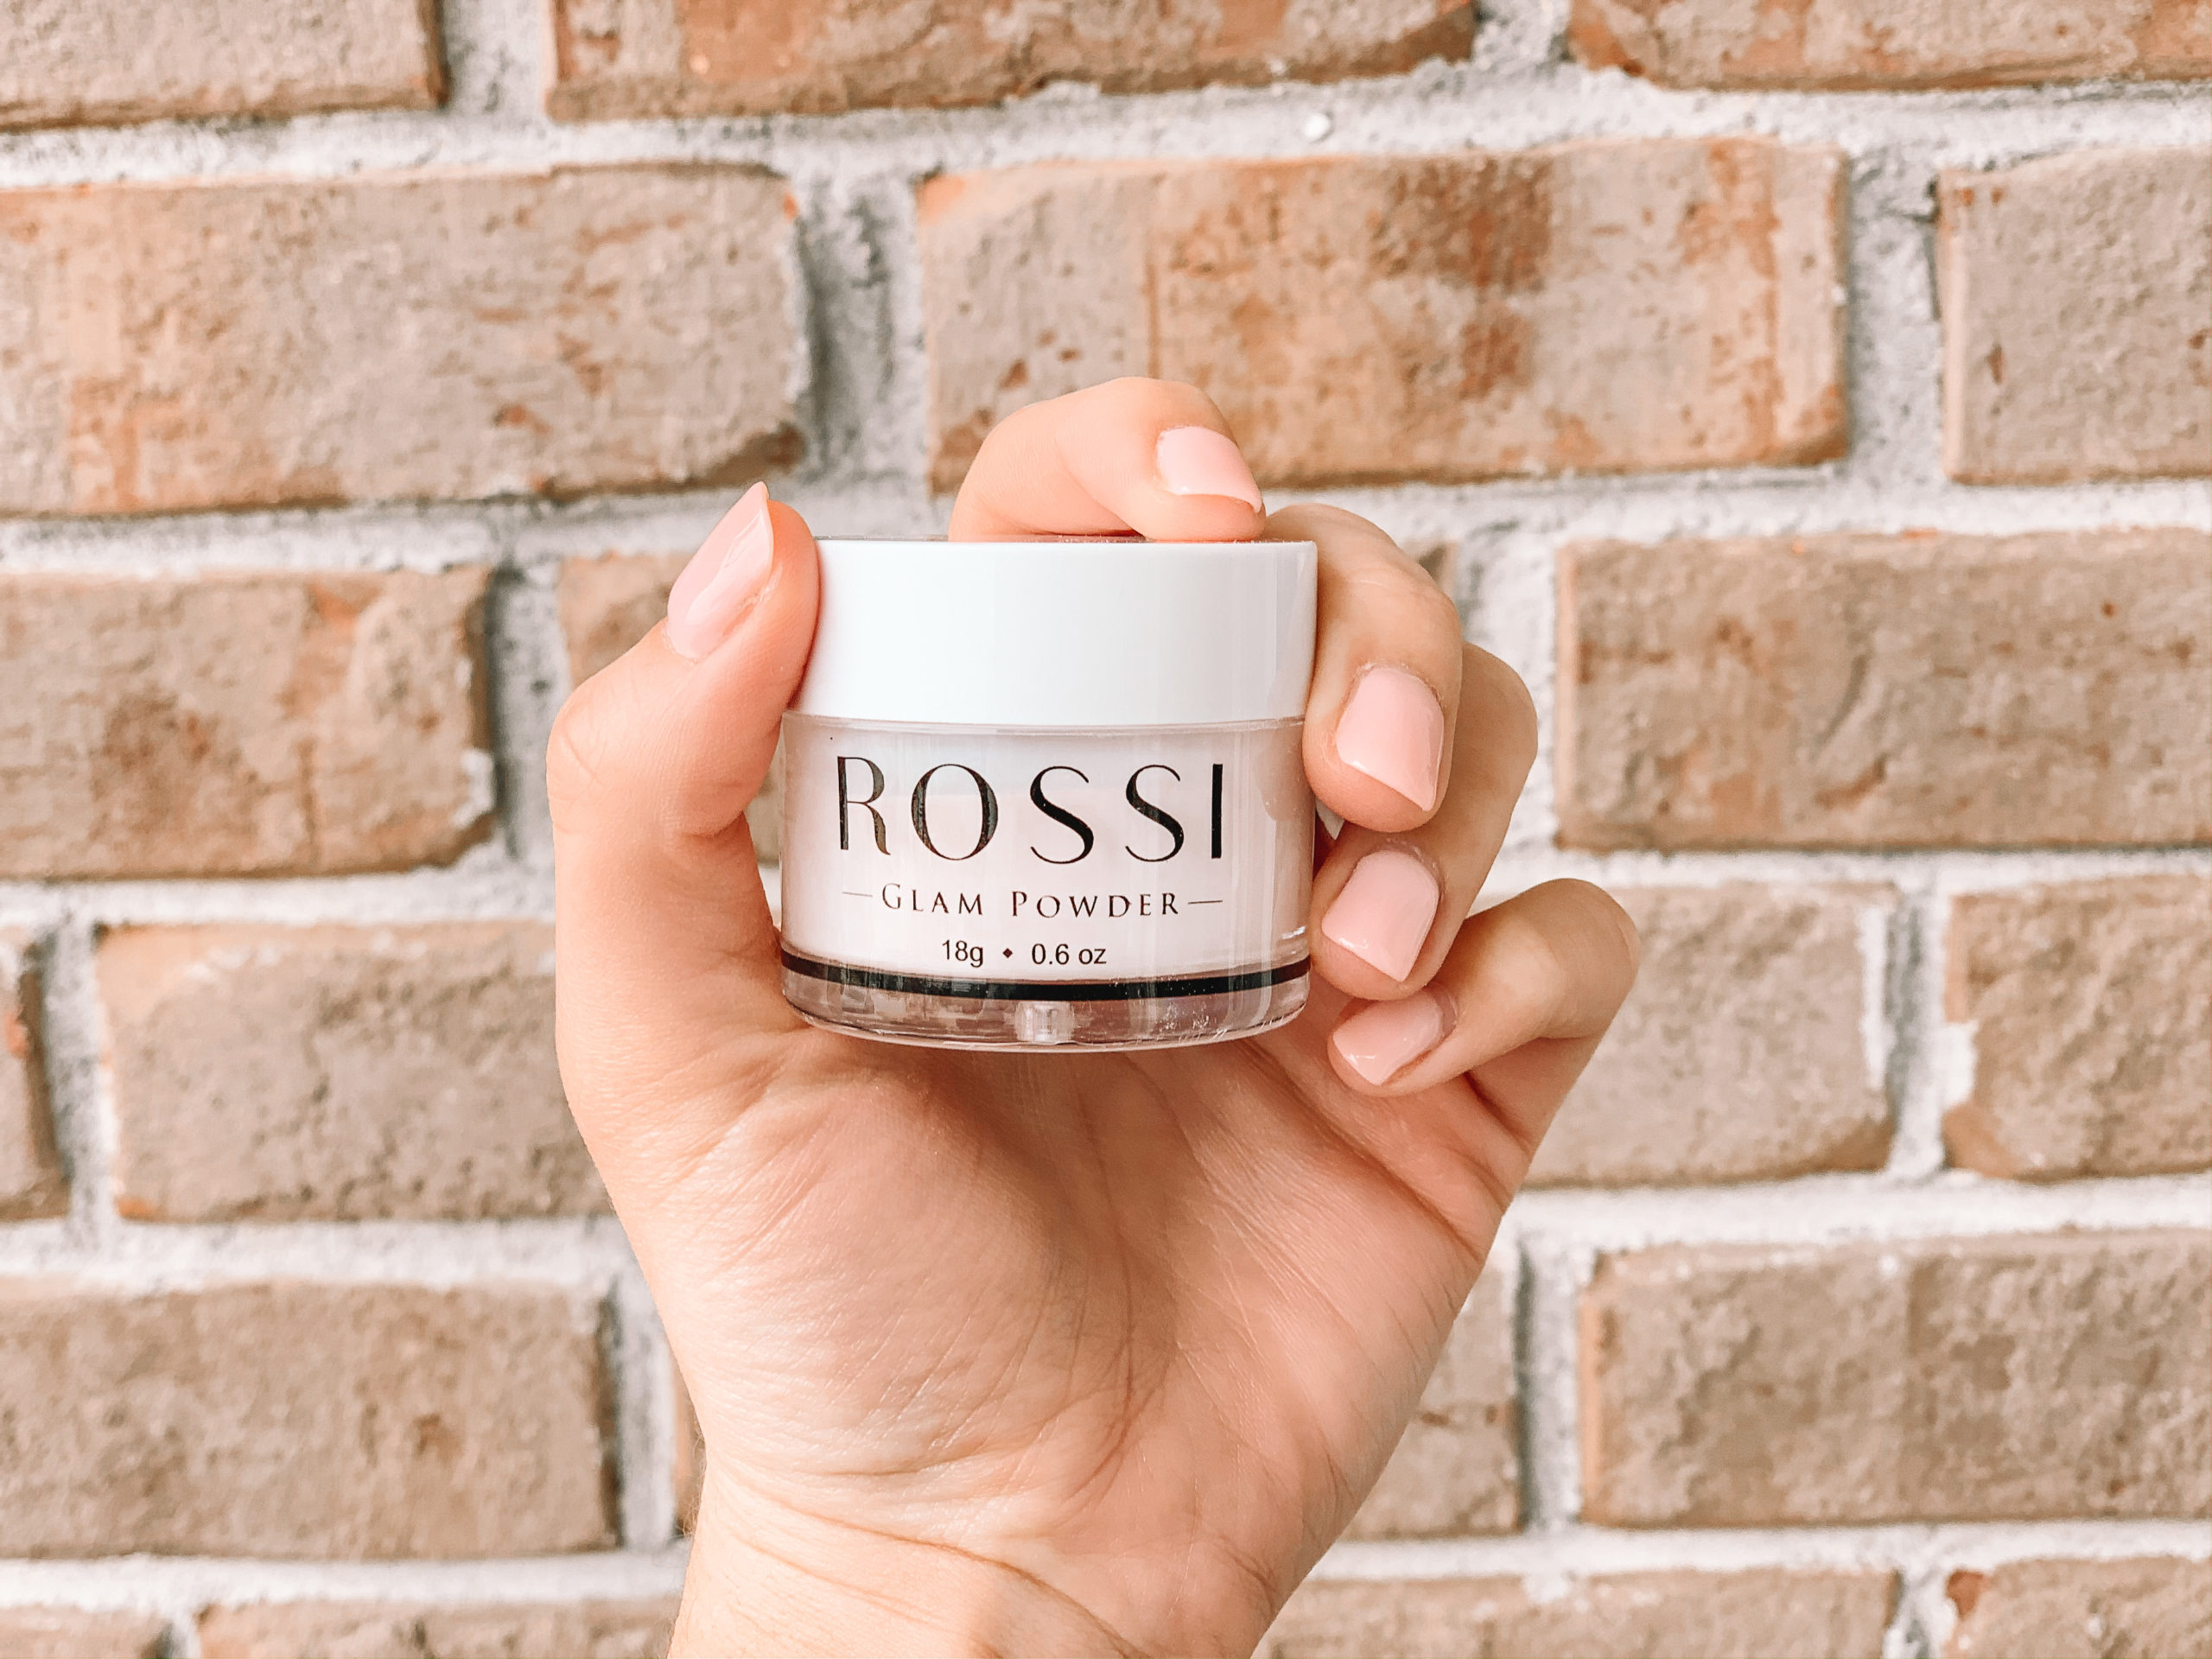
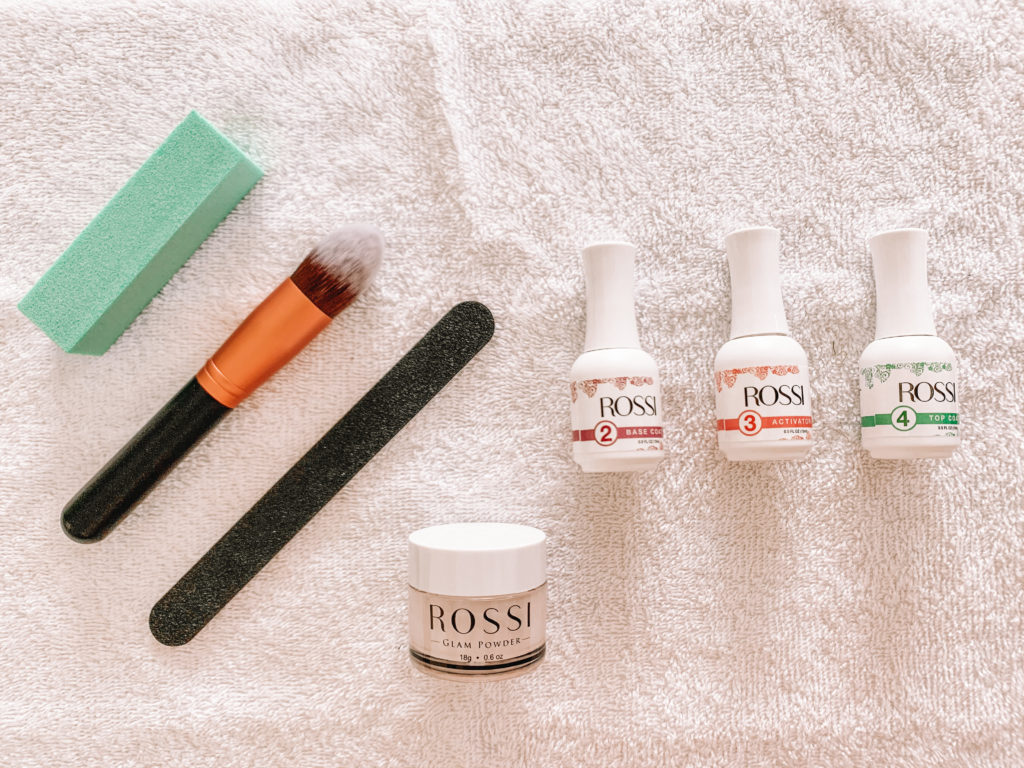
I gave myself a manicure at home using this Rossi Glam Powder and I am seriously impressed with the results! It took about 30 minutes to do. The dipping itself is fairly easy. What took the most time for me was buffing and filing my nails. I love that there’s essentially no drying time with dip nails (about 2 minutes for the top coat to dry). Here’s what you need to do your own dip nails at home:
- Rossi Nails Dip Kit: I bought the trial kit from Amazon linked HERE. I recommend starting with this trial kit to make sure it works for you and you like it. In the kit, you get the base coat, activator, top coat, and 1 dip color. There’s several color choices for the trail kit (my color is honeymoon). There are many other choices on the Rossi website. If you love it and decide to buy more, they now have kits with 6 powders linked HERE. You can also buy the 3 liquids separately HERE.
- Nail Buffer Block and File: This is something you will need to invest in for dip nails if you don’t already have something similar. If you’ve never gotten dip nails before, just know that they come out a little thick. You will need to buff and file them down to your desired thickness and shape. I bought this pack of 6 buffer blocks and 6 nail files for $10 linked HERE. Update: I’ve also since purchased a nail drill to help with buffing and making the edge of my nails smooth. It’s optional, but I enjoy using it! Linking it HERE.
- Brush: You will need some type of brush to brush off the excess powder. Linked HERE is the nail brush I use. But you can use any type of brush.
- Cuticle Oil (optional): The last step is optional, but I LOVE using cuticle oil on my nails. It’s so moisturizing and makes me feel like I just left the salon. I linked the kind I use HERE.
The trial kit comes with step-by-step directions for you to follow, but I am going to list the directions here in case you’re wondering how to do it before you make the purchase. It’s SO easy!
- Remove anything from your nails and trim to desired length
- Apply thin layer of base coat (one nail at a time).
- Dip nail into the powder at a 45 degree angle.
- Use brush to lightly brush away excess powder.
- Repeat this on each nail 2-3 times (I did 3)
- Apply activator to each nail and let dry (approx. 1 minute)
- Buff and file your nails to make them smooth
- Apply another coat of activator and let dry
- Apply top coat and let dry (approx. 2 minutes)
- Apply another coat of top coat for glossier finish & cuticle oil (optional)

Salon Comparison: When I put these pictures side by side, I was blown away! I was shocked that I was able to achieve a similar look from home. The top picture is the last professional dip manicure I had done and the bottom picture is the one I did at home. If you can’t tell, I really love neutral nails. Also, didn’t even realize until after the fact that I was wearing the same sweatshirt lol. The salon dip powder manicure costs $50 plus a tip, whereas the Rossi trial kit costs $20 (and I will get several uses out of it). It also took less time to do the dip powder at home (especially if you factor in driving time). I will definitely be buying more colors so I can keep doing these Rossi dip nails at home, even after social distancing is over.
Update: Rossi gave me a coupon code to share that can be used on their website! ROBIN10 saves you 10% – shop HERE. It’s a personal preference if you’d rather buy from Amazon or directly from their site. I have done both and you get the same product in about the same time frame! For more tips, extra supplies I’ve bought, and how I store everything – check out my latest blog post linked HERE.