If you’ve been following me for a while, you know by now that I am a DIY nail girlie! I began in 2020 with DIY dip powder nails, and then got comfortable adding gel designs. My latest nail venture has been trying out the Gel X method of DIY nails and I’m loving the results! Below I am sharing all of the products I used for this mani style – all from Amazon! And I’m also sharing the exact step by step process I used.
This post contains commissionable links.

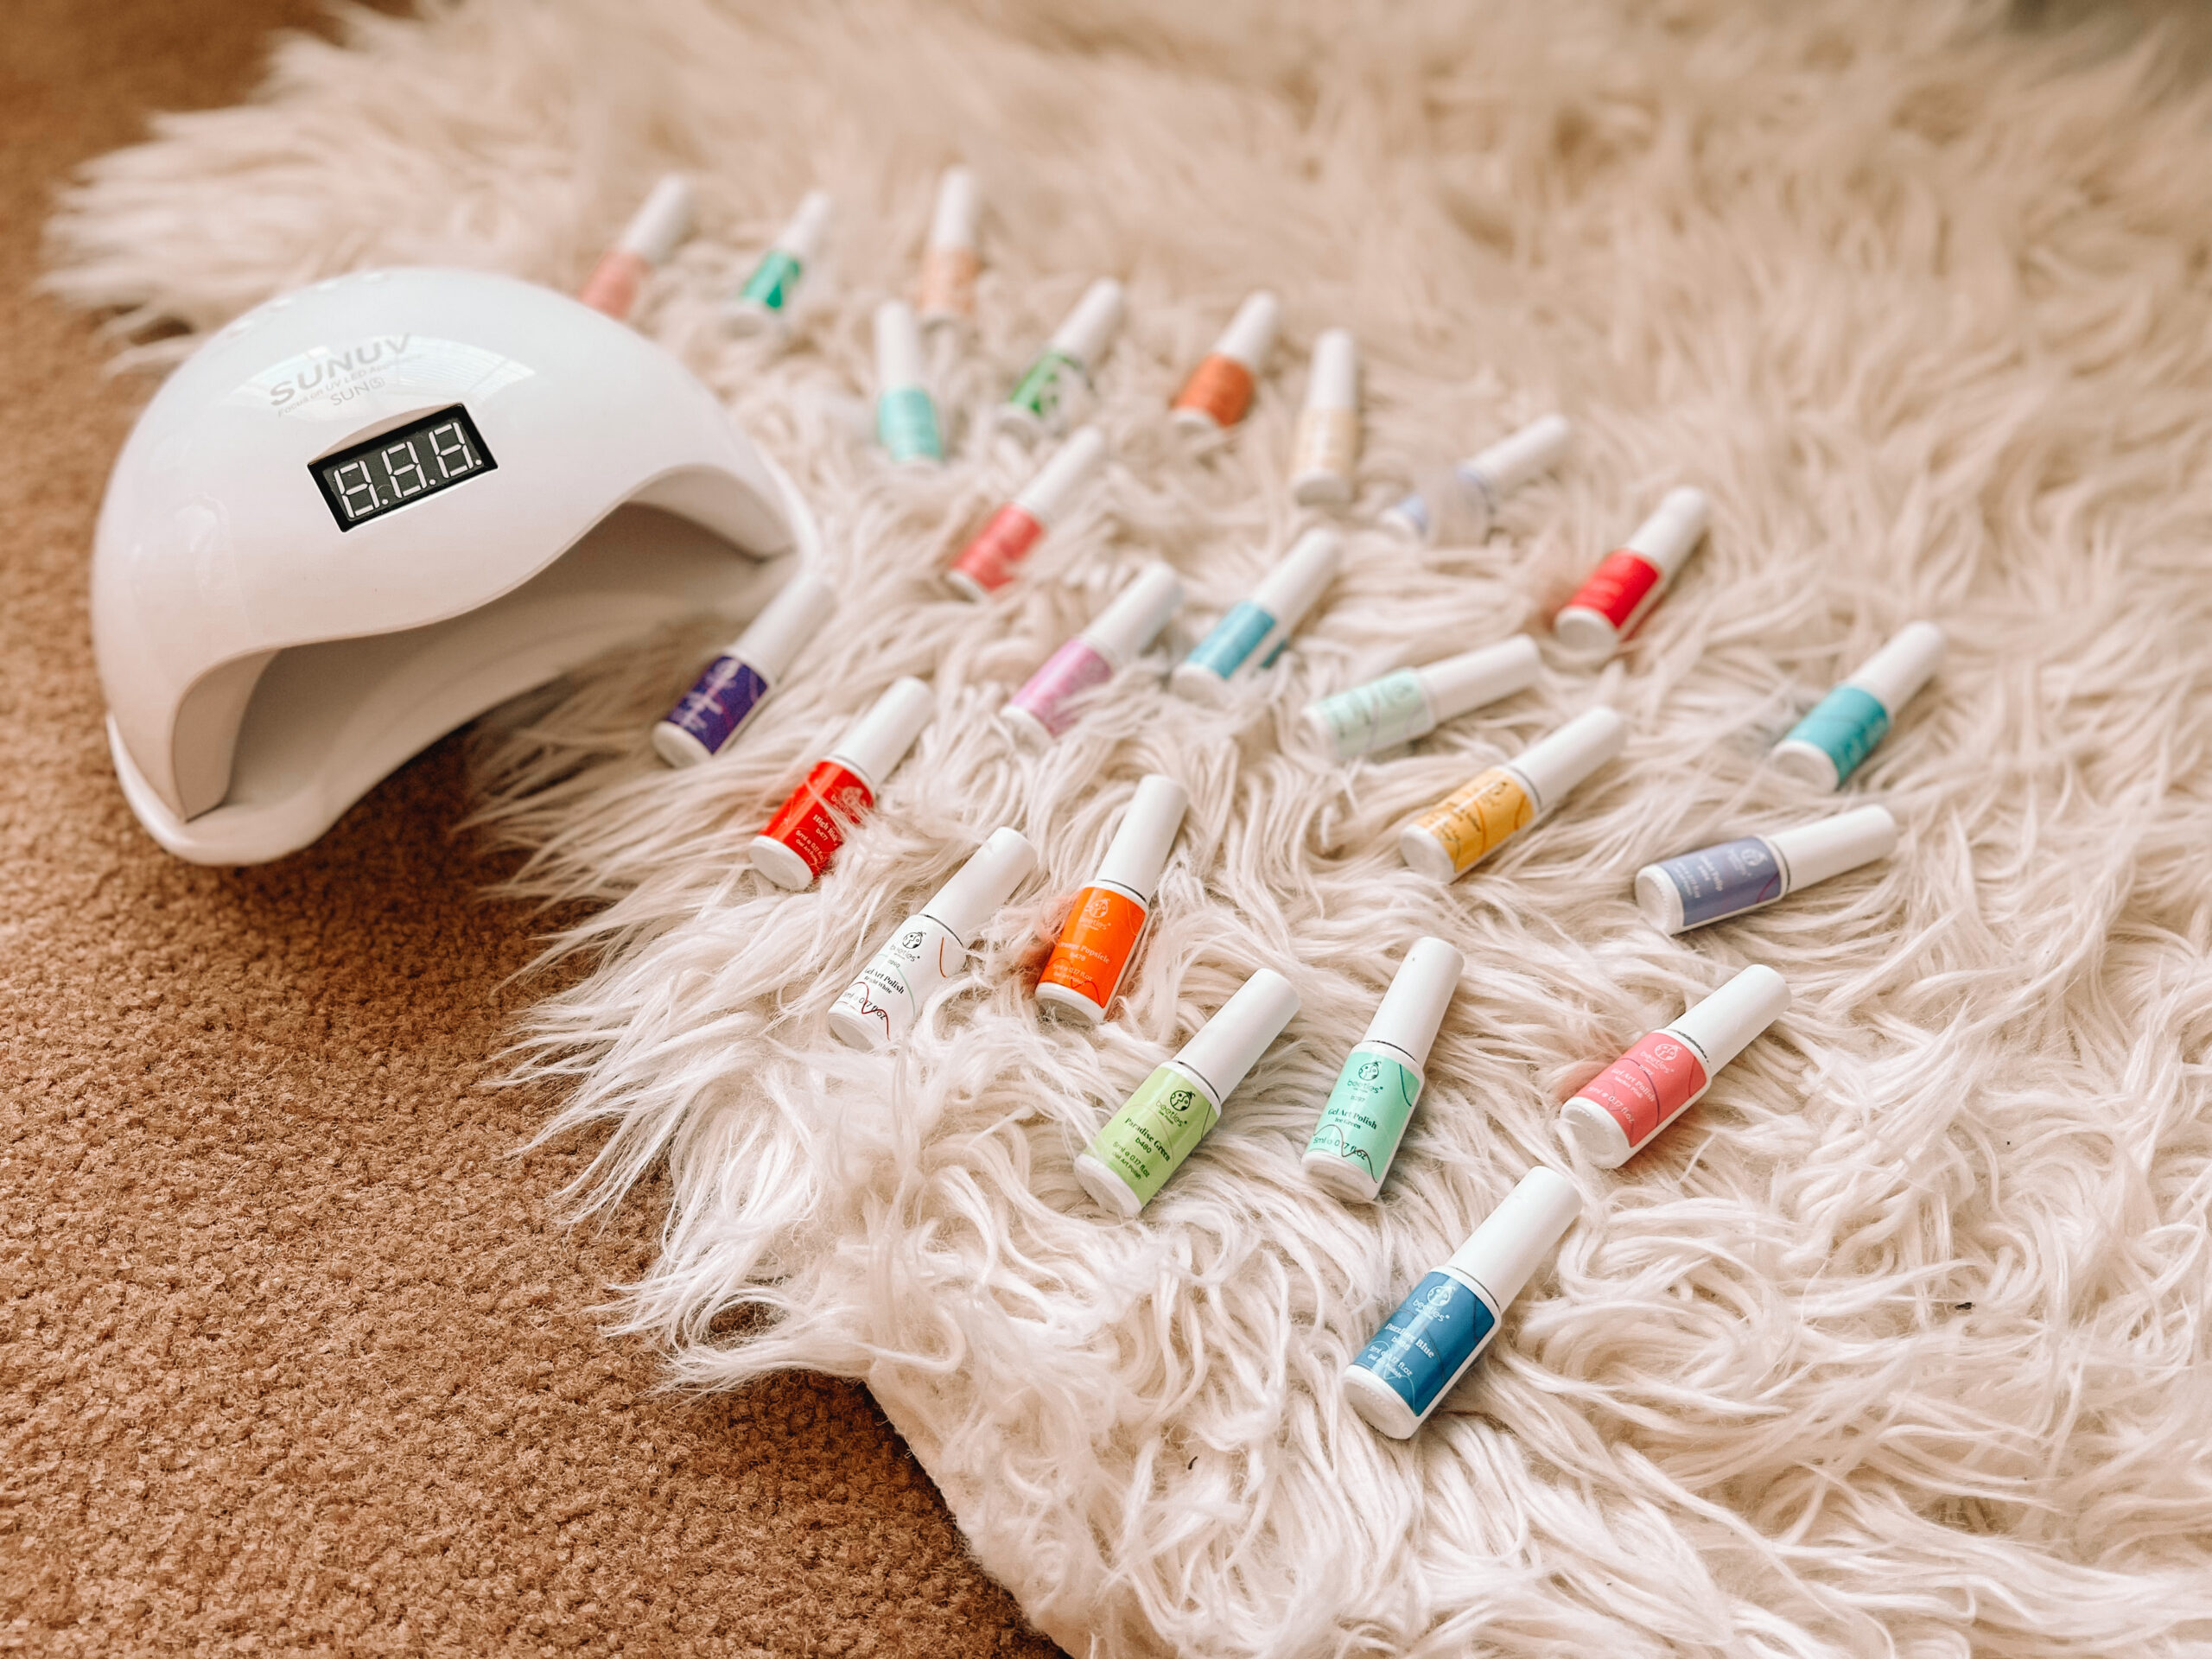
Amazon Products Used
Everything I bought to create this Gel X manicure is from Amazon, and I must say it’s much cheaper than going to the salon! Linked below are products for nail prep, base coat and top coat, nail glue, and nail tips. I also included the mini and regular sized UV LED lamps (don’t forget gloves!) Lastly, linked below are the light pink and white gels, as well as the nail stamper that I used to create the french tip design.

Step by Step Process
- Prep your nails with a cuticle trimmer, nail file, and nail primer/dehydrator.
- Find the nail tips that fit your natural nail best and lay them out.
- Working one nail at a time, apply a pea sized amount of nail glue directly to the tip. Press the tip onto your nail and push out all air bubbles from bottom to top.
- Hold the finger under the mini UV LED lamp for 60 seconds to adhere.
- Repeat with all nails.
- Now that all nail tips are applied, it’s time for gel polish. Begin by applying a base coat and cure. From this point forward you can use the regular sized UV LED lamp to cure all nails at the same time. Don’t forget to protect your hands with gloves.
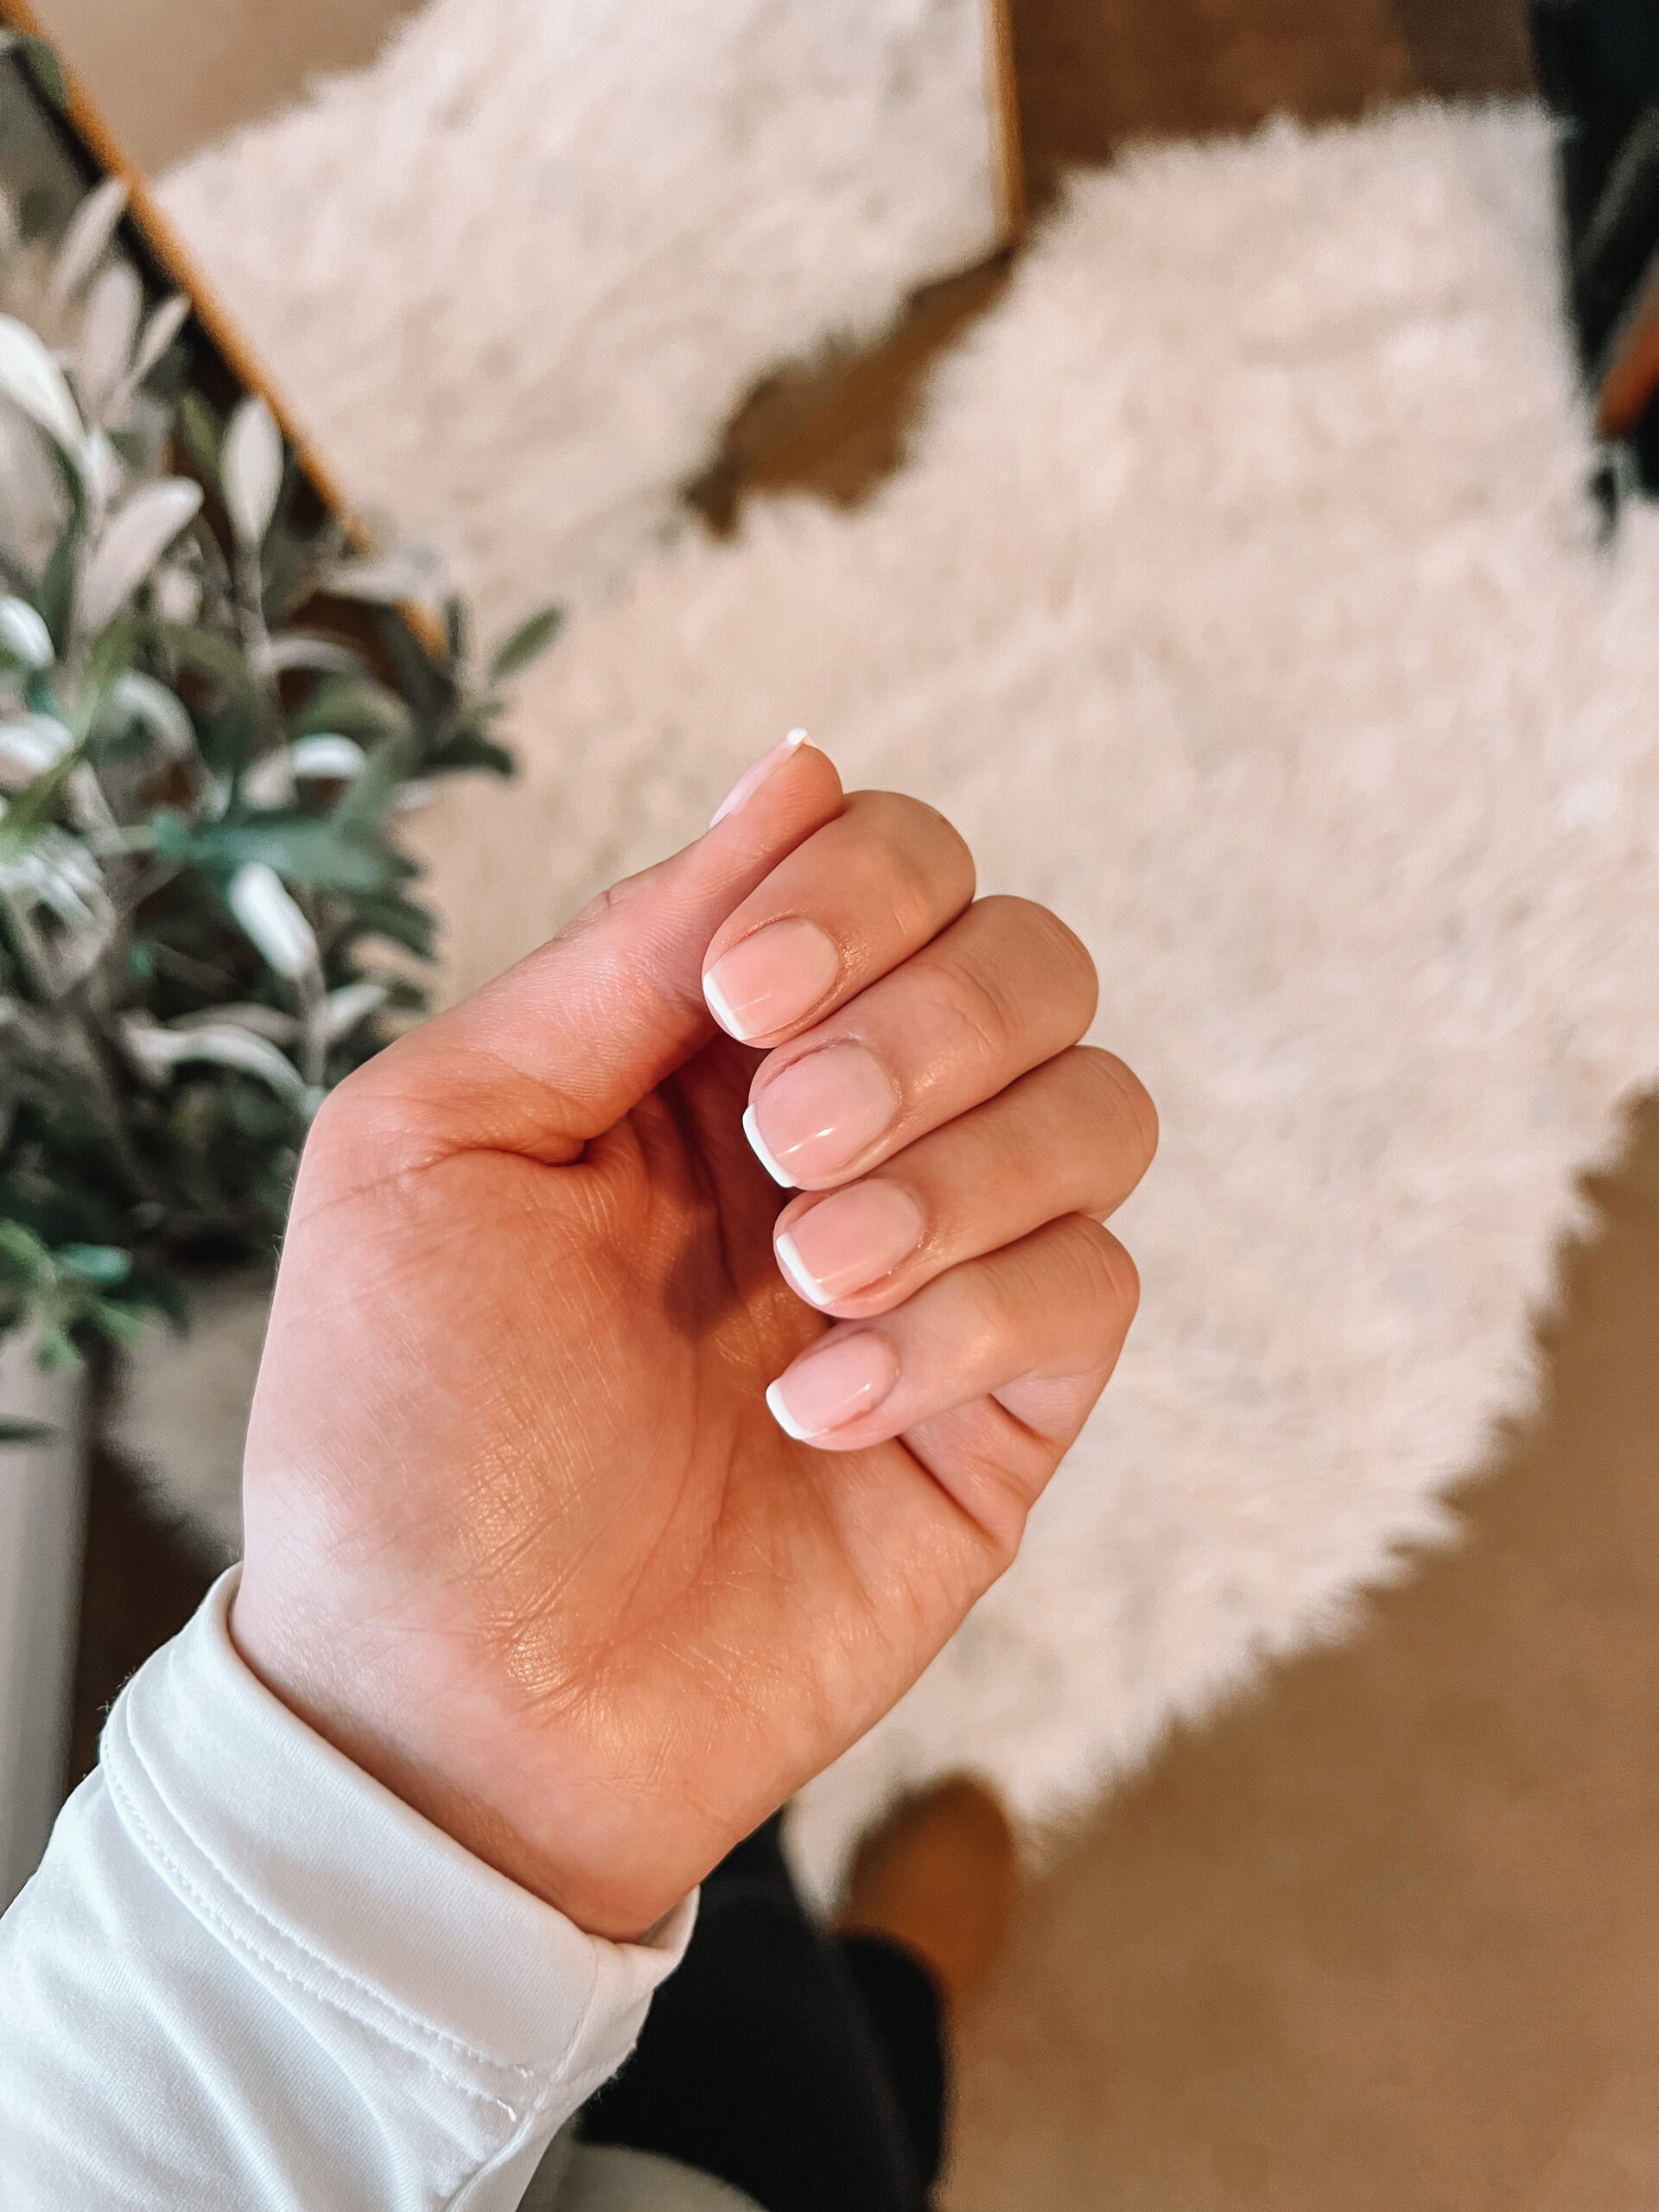
- Next I used two coats of this pinkish nude shade which was perfect for my french manicure! Cure for 60 seconds after each coat.
- To add the french tip, I used this nail stamper and this white gel polish. The nail stamper makes applying any french tip design SO easy. Don’t forget to cure again after the design. You can also choose to do other designs with one of these nail art gel liner sets.
- Next step is to apply a matte or glossy top coat and then cure one final time.
- I always finish up any type of manicure with cuticle oil. I also apply this nightly to keep my nails fresh and nourished!
What I love so far about the Gel X style of nails is that they are durable and can last me up to 3-4 weeks! They also allow me to try different types of nail shapes that I wouldn’t normally do, such as almond. It only takes me about one hour to complete and then I’m set for the month with a salon quality manicure!