I can’t believe it’s been TWO years since I’ve been doing my own dip powder nails from home. I started doing them during the start of the pandemic and enjoyed it so much that I haven’t been back to the salon since. I’ve always used the same Rossi products which I still love! But I was excited to branch out and try some new dip powder colors and liquids from a brand called Bio Seaweed Gel. Although the products do not actually contain seaweed, the name embodies the notion of healthier products. Bio Seaweed Gel products are Big-5 free, meaning they are free from formaldehyde, toluene, DBP, BHA and camphor, some harsh chemicals found frequently in other products. Rossi’s dip powder and liquids are also free from those chemicals, so don’t worry if you’ve bought their system as a result of my posts in the past! 🙂
This post contains commissionable links.
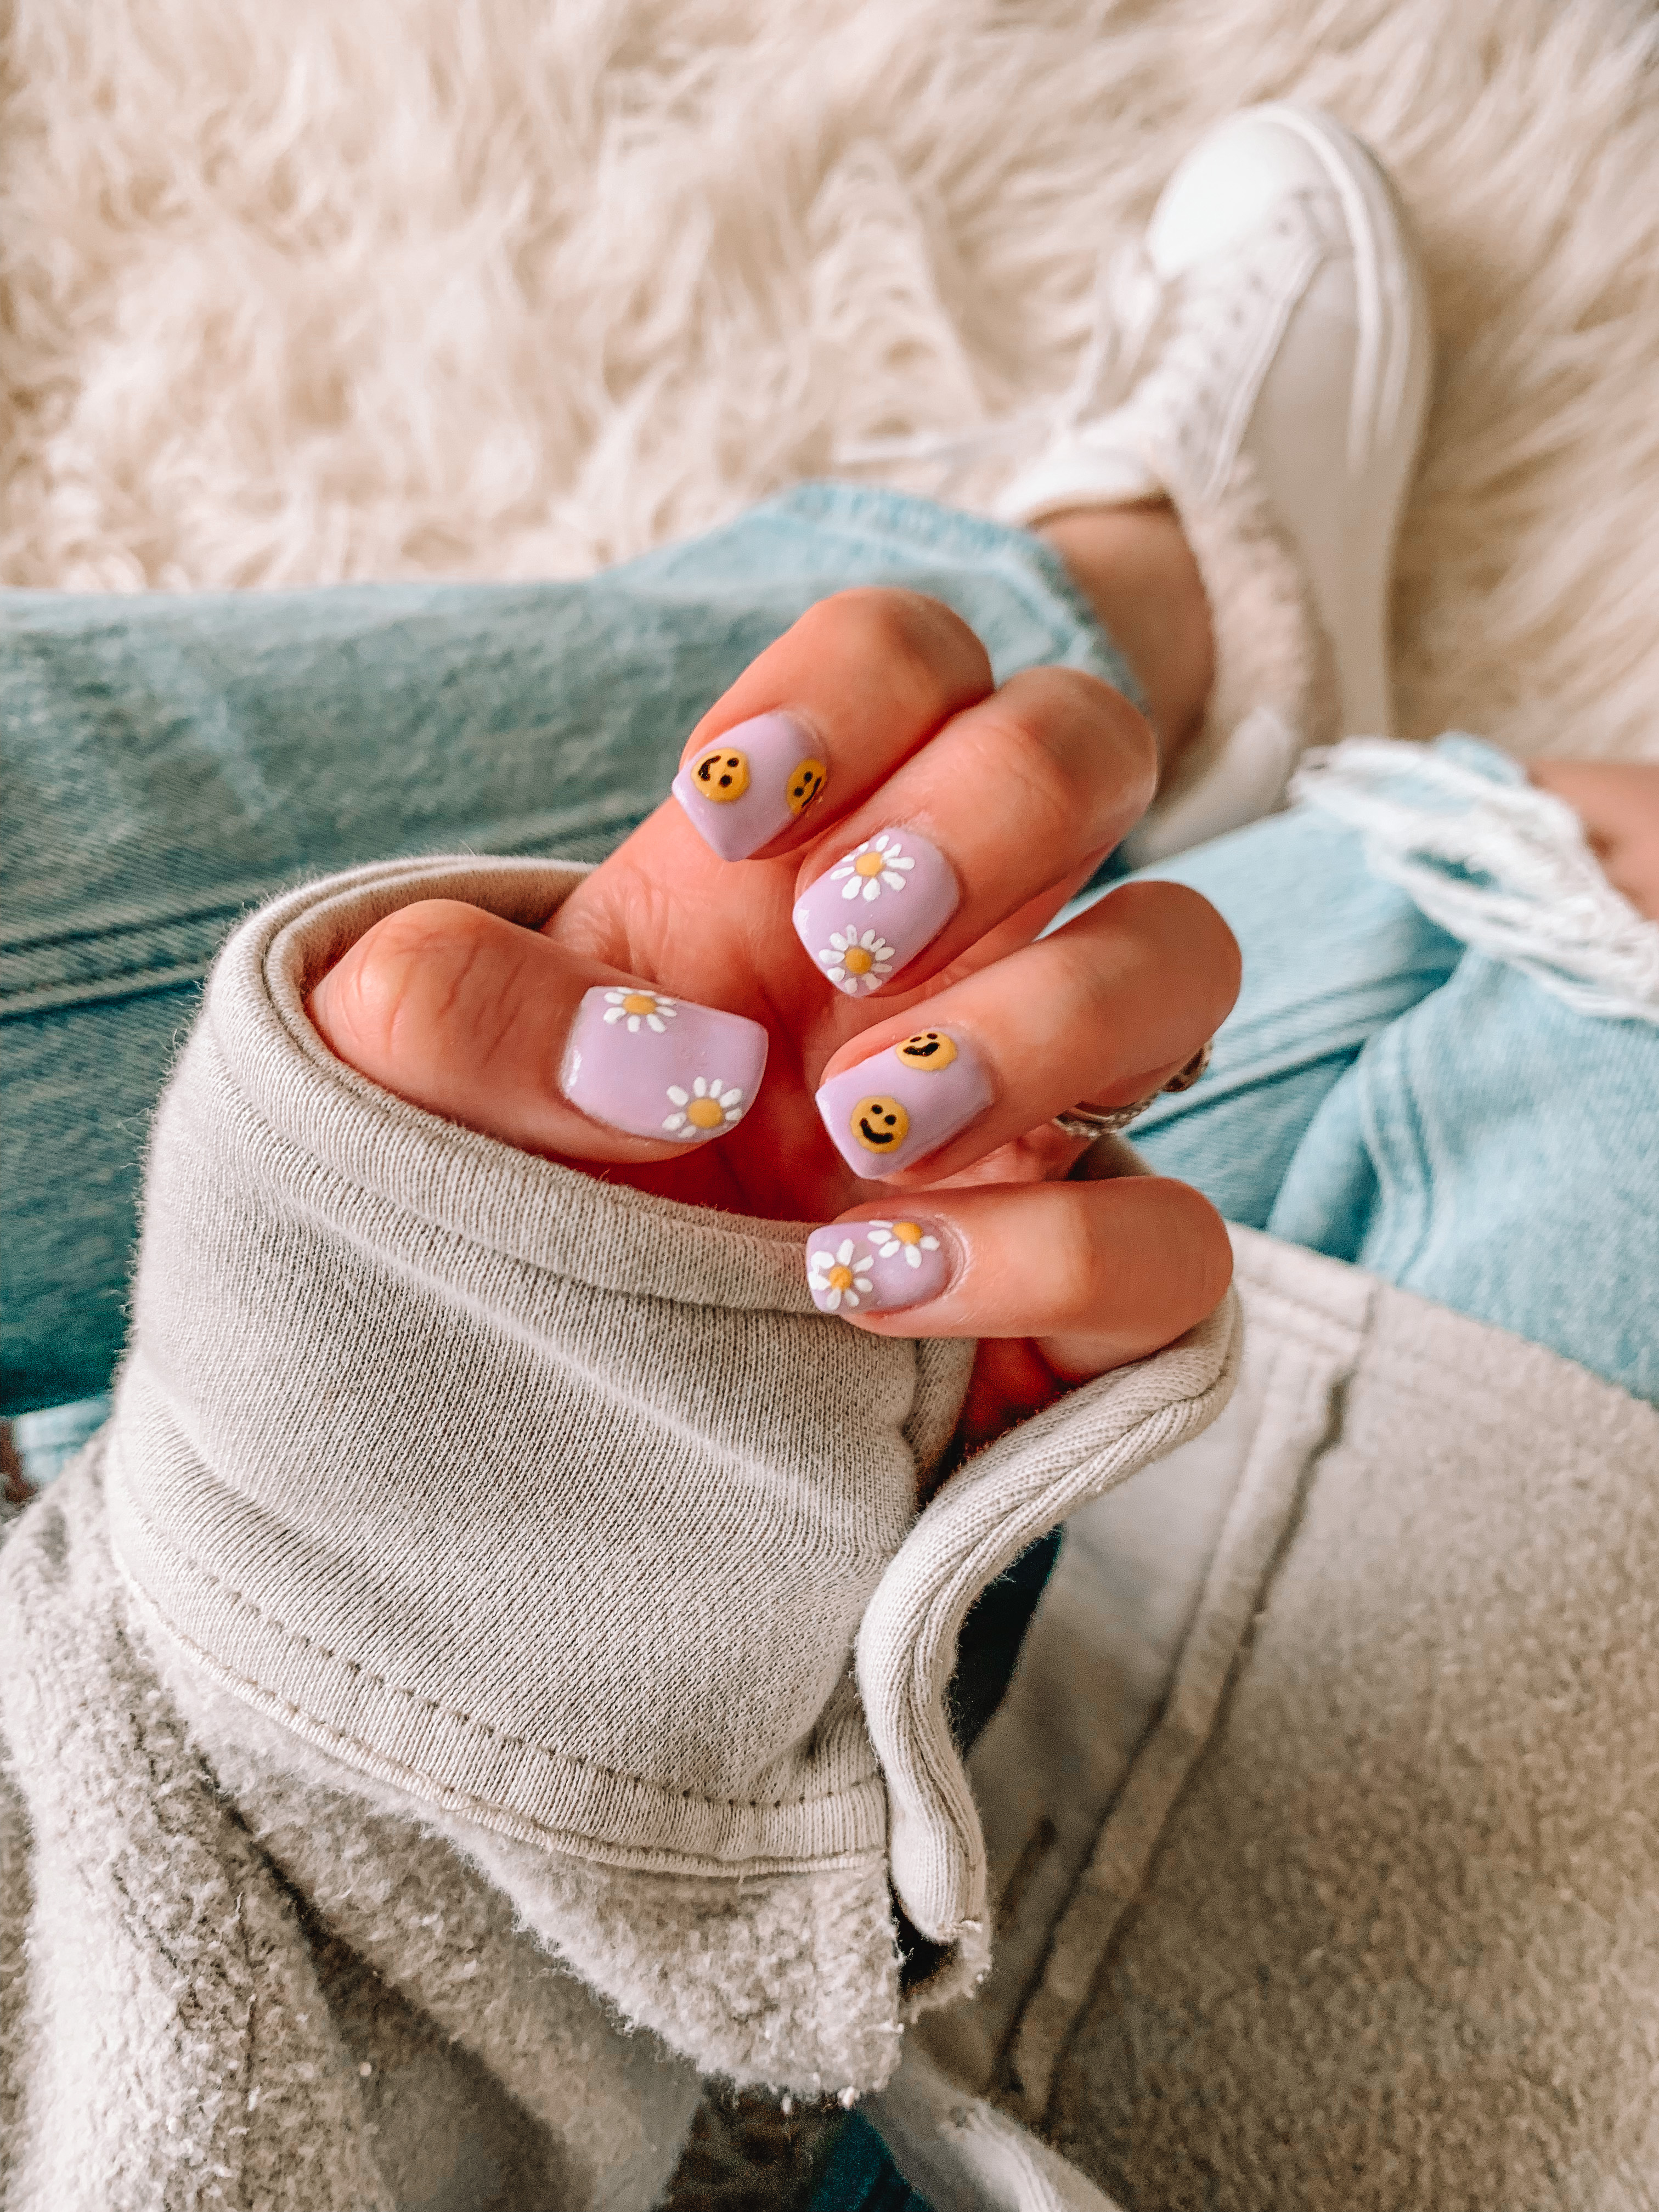
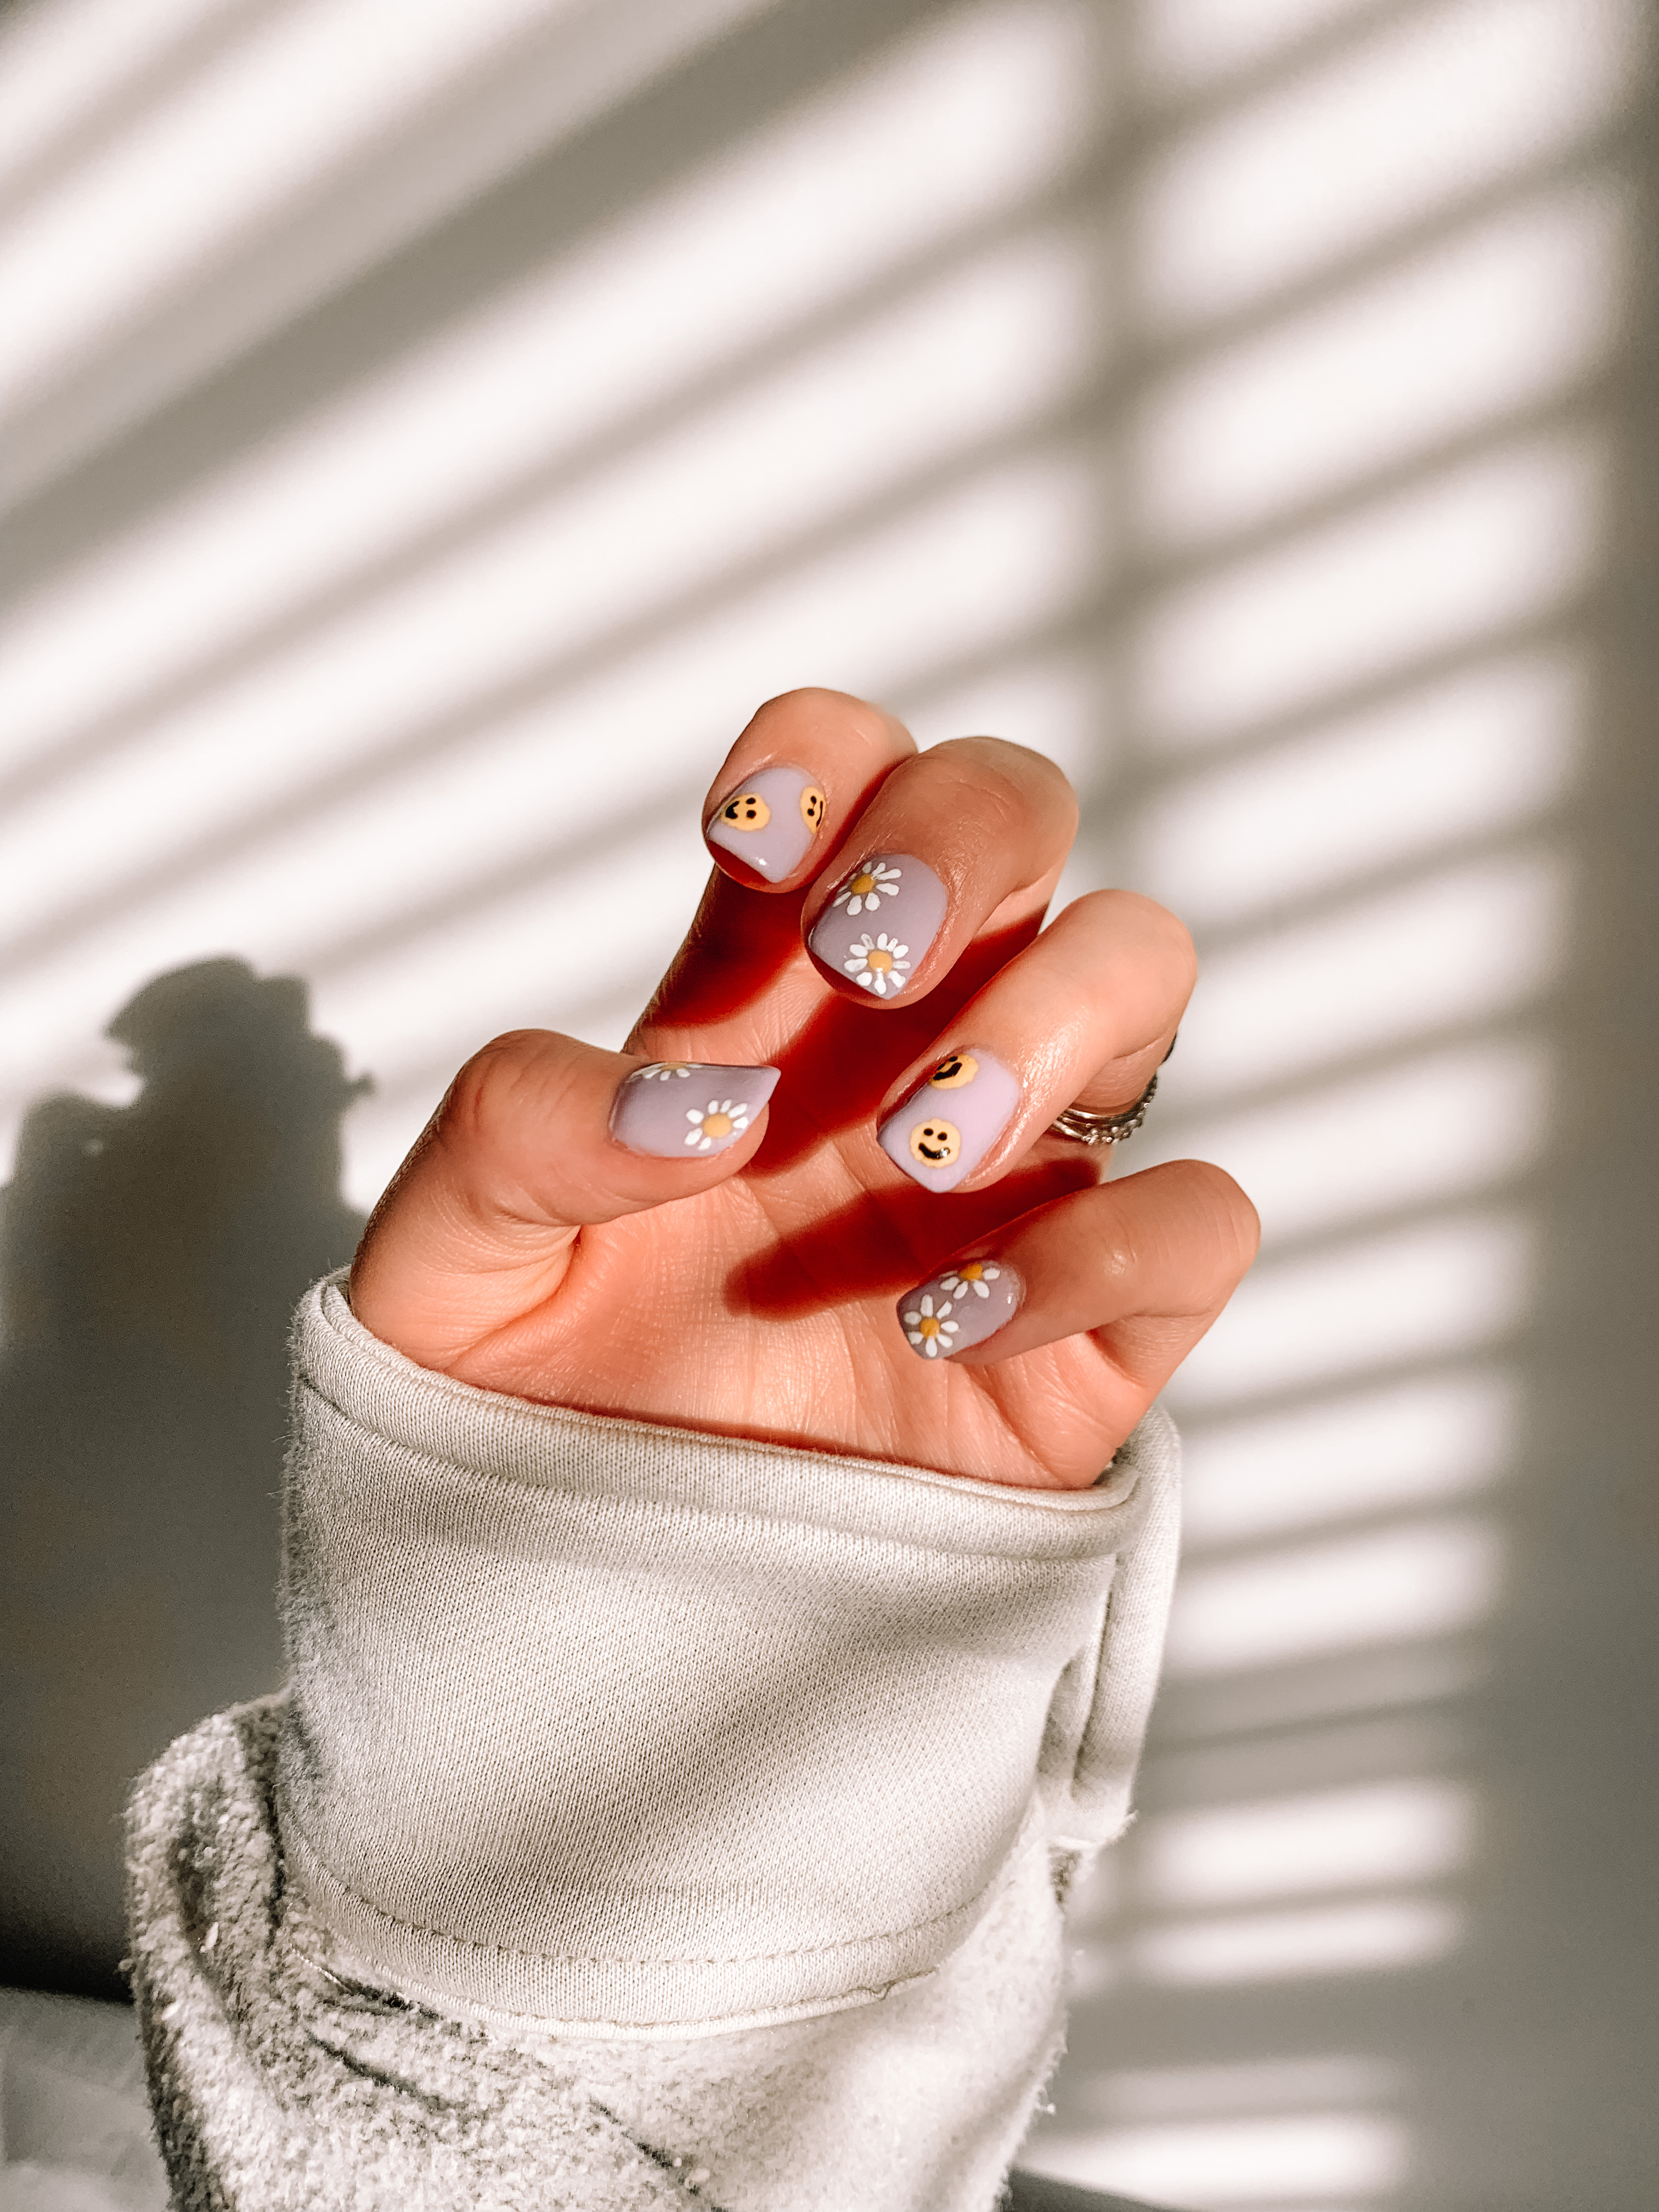
I was excited to try out Bio Seaweed Gel as they had some gorgeous dip powder shades that I didn’t currently have in my collection of colors. I ended up creating one of my all time favorite manis using the shade Fairytale. The design is perfect for heading into spring and I still can’t believe I pulled it off! I’ve learned that practice makes perfect (or at least almost perfect!) when doing your own dip powder nails. I’ll share below step by step of exactly how I created this mani using Bio Seaweed Gel products.
Step by Step Process
Step 1: Prep your nails! This is very important for creating a long lasting dip powder manicure. I start by using a cuticle exfoliator and cuticle trimmer to remove the dead skin from my cuticles. Then I buff my nails with a buffing block and coarse grit nail file. Finally, I make sure I apply a nail dehydrator or nail primer. This removes the oil from my nails and helps my manicure last much longer.
Step 2: Next you will use the base coat liquid found within the dip powder starter kit. I have found that 4-5 coats is what works best for me achieving longevity with my manis. However, I like using the apex method to avoid my nails being too thick. Apply the base coat in a thin layer and dip into the powder at a 45 degree angle. Gently shake off the excess and wipe around your nail with a nail brush. I also like using the pour over method which is when you pour the powder over your nail and catch the excess in a plastic bowl or plate that you can then put back into the dip powder jar.
Step 3: Apply your first coat of activator gently but generously! This liquid is also found in the dip powder starter kit. After applying activator, I file and buff my nails using these buffs and files. I also use a nail drill to continue to shape my nails, especially around the edges. Then apply another coat of activator.
Step 4: This is the point in the process where I add designs if I want to. A lot of people ask how I do the designs on with my non-dominant hand, and to be honest it just takes practice! I started off doing simple designs like dots or hearts and started doing more complex designs like flowers and leopard as I got more comfortable. I use these dotting tools and brushes to create all of the designs. With trial and error I have found the Sally Hansen Xtreme Wear nail polish to be the best for creating designs on top of dip powder. It dries quickly and doesn’t chip or smudge.
Step 5: If you chose to do a nail design, make sure it’s completely dry before adding the top coat. You don’t want to risk smearing the design. However, the top coat is important and the liquid is also found in the dip powder starter kit.
Step 6: If you want to feel like you truly just left the salon, I highly recommend cuticle oil! I use cuticle oil right after I finish with my mani and every day thereafter. It keeps my nails hydrated and I’ve found it makes my dip powder manis last longer.
Bio Seaweed Gel is currently running a promotion on dip powders. You can get 6 dip powders at $5 each (versus $22 each) with code DIP6. Let me know if there are any other questions I can answer for you on your DIY dip powder mani journey!
